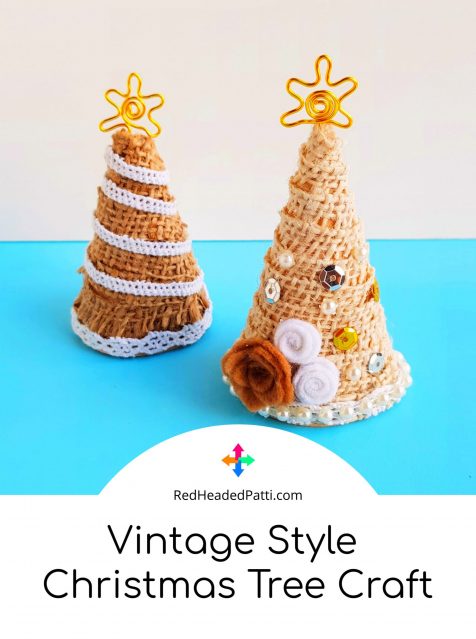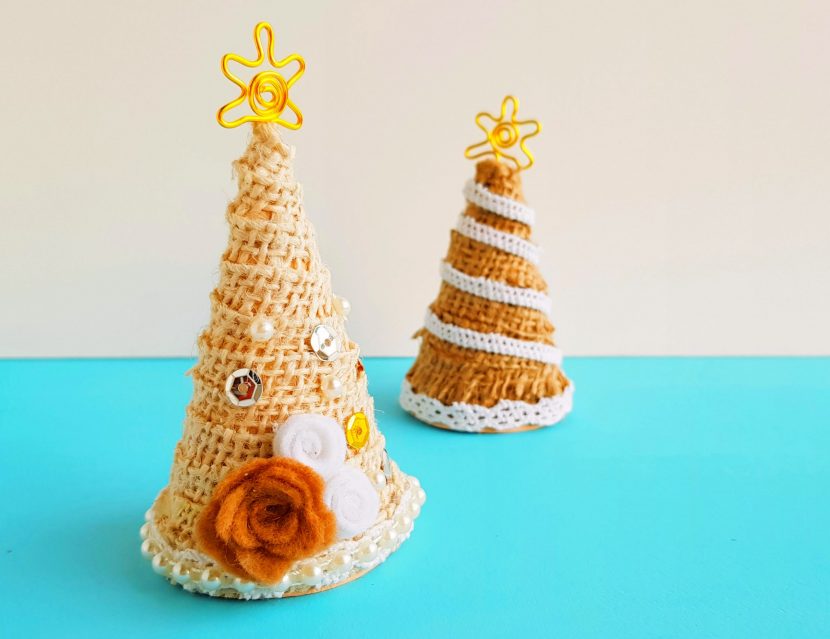
Perfect for the table or mantle, this vintage-style Christmas tree craft provides plenty of wow factor, minimum skill. It’s an adaptable craft, so you can use up stray scraps of fabric or embellishments. You can also change up the stylistic cues from vintage-style Christmas tree craft to steam-punk, minimalist, or any other aesthetic that takes your fancy.
Materials For Your Vintage Style Christmas Tree Craft

- Cardstock paper or Styrofoam tree form
- Crochet lace
- Burlap fabric / lace
- Beaded lace
- Craft wire
- Felt
Alternatively, you can use other kinds of items, depending on your particular style. All you have to do is use another material in place of the burlap or lace and choose decorative items that coordinate.
Tools Required

- List of Tools:
- Craft pliers
- Scissors
- Craft glue
Vintage Style Christmas Tree Craft: Instructions
Step 1
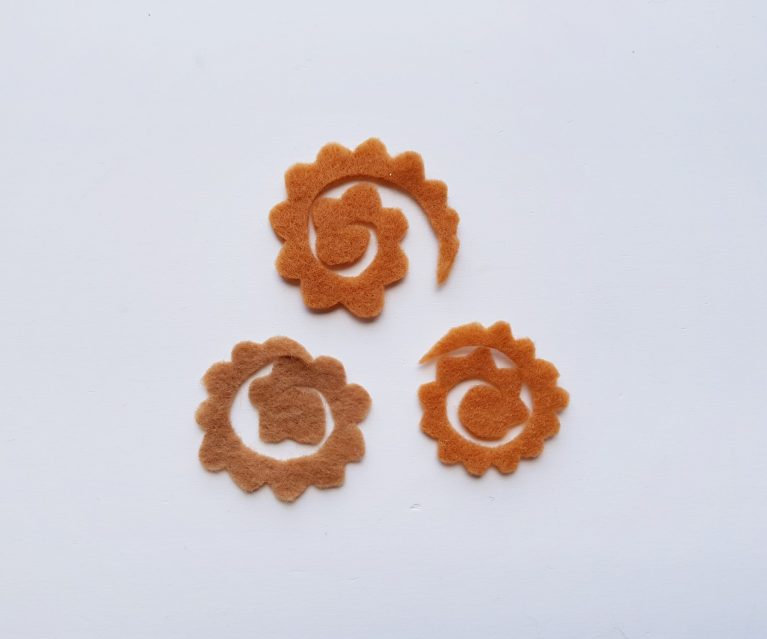
Let’s start with crafting the items to decorate the tree.
I’m using felt fabric to make spiral rolled flowers. First, cut spiral patterns from felt material, then cut scalloped borders along one edge. However, the borders are not integral; they just make a pretty petal shape. If you’d like to change up the shape, or leave the borders entirely, no worries.
Step 2

Roll the spiral felt cut out from its outer end and keep rolling it towards the center of the spiral. After reaching the center, glue the rolled part with the center to secure the rolled pattern.
Create two or more spiral rolled flowers with which to decorate your finished tree.
Step 3
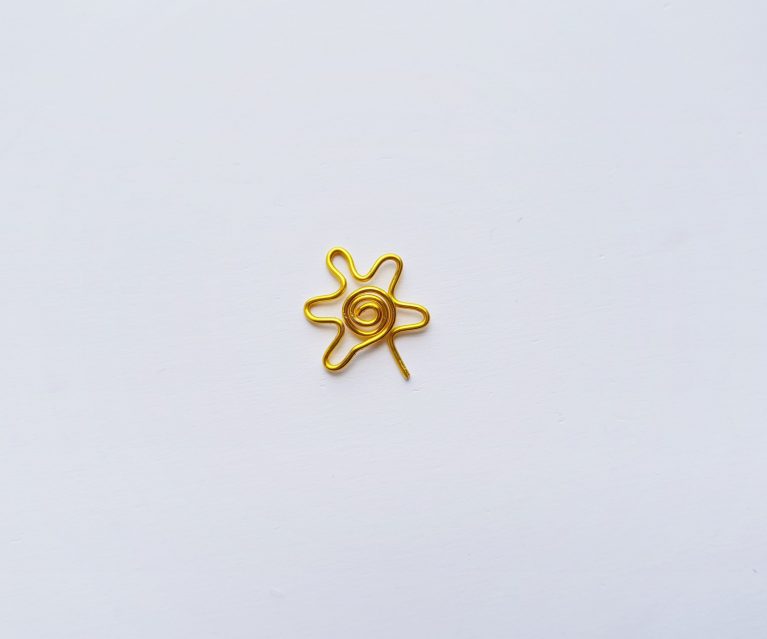
I used 18 gauge golden craft wire to create a star pattern. You can use any style star or shape and form it using craft pliers to bend the wire to your will!
Step 4
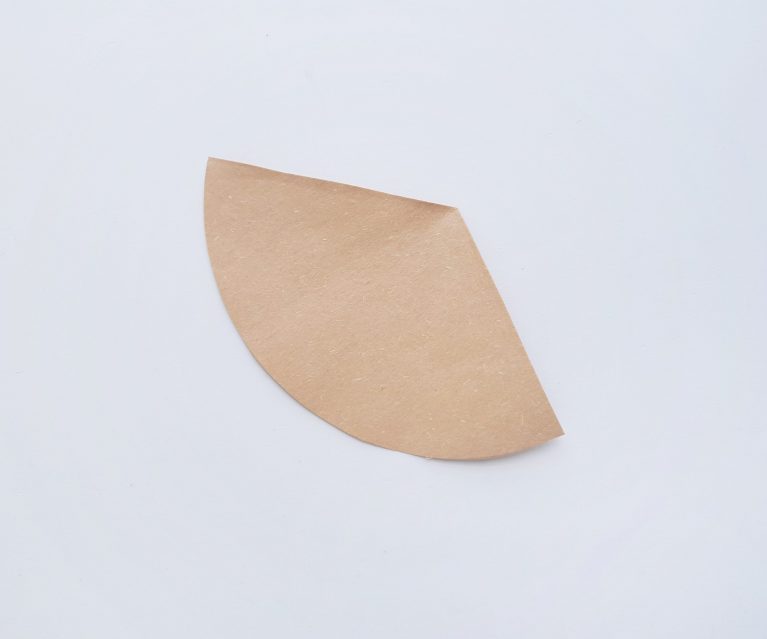
Decide how tall you want your tree to be. Then, cut out a third of a circle from some cardstock paper, with the distance from the centre of the circle to the edge being roughly equal to the planned height of your tree. Alternatively, you can use a styrofoam tree form.
Step 5
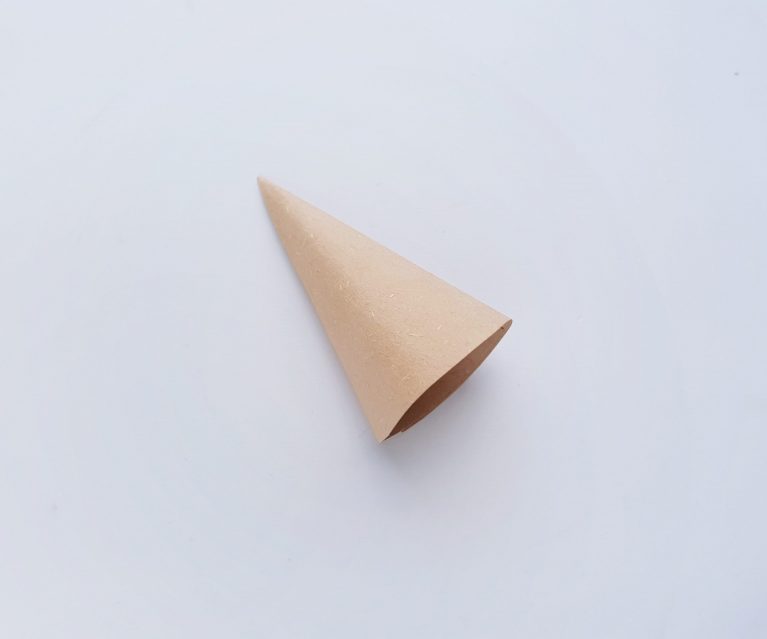
Roll the quarter circle cardstock to form a cone shape. Apply glue on the overlapped parts of the cone cardstock to secure the cone shape.
Step 6
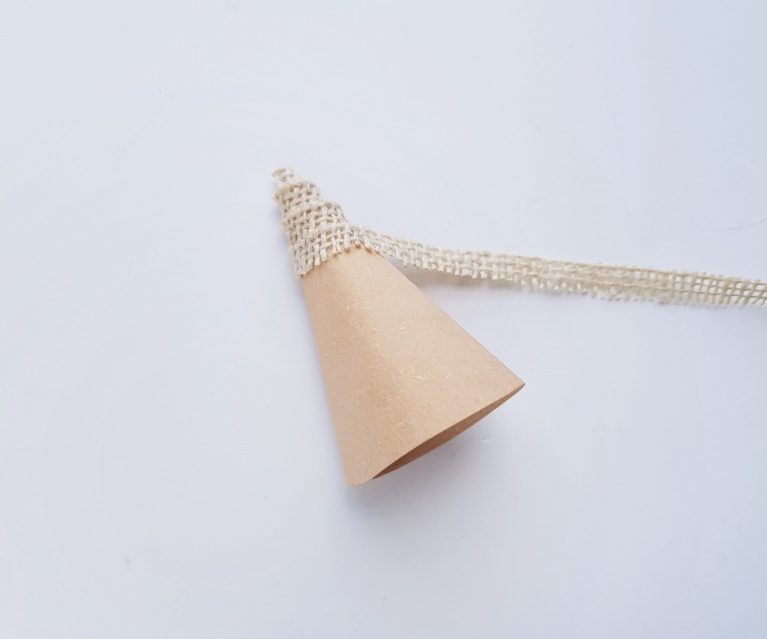
Grab a burlap fabric strip or burlap lace to wrap the cardstock cone. Start wrapping the cone from the top.
Step 7

Continue to roll your strip of burlap or lace towards the bottom edge of the cone. Apply glue as you go. I suggest gluing each lap of the tree as this helps make sure the wrapping is nice and secure.
Step 8

Now grab all the items you have selected and crafted to decorate your cone tree.
If you’re unsure about how you want the final tree to look, take the time to lay your decorations on it without gluing. This gives you the chance to change the placement of the decorations on your Christmas tree craft without getting glue everywhere.
Step 9
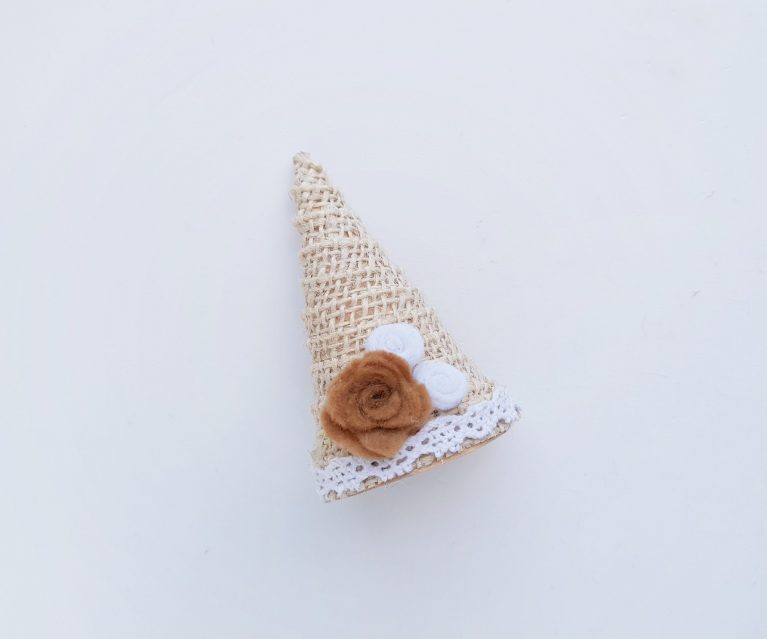
You can decorate the cone tree however you want. Wrap it with a thin strip of lace, add beads, felt flowers, etc.; I’ve decorated the bottom part of the cone with lace and felt flowers.
Step 10

The top part of the cone seemed empty, so I added some sequins.
Step 11

Attach the wire star (or you can also use a store-bought star charm) on the top edge of the cone Christmas tree, and you’re done.
These trees look beautiful when you make a few of them, all slightly different, and arrange them into groups. Excellent for decorating the mantle, these trees also make a fabulous centerpiece for your Christmas table.
You might also like my post about how to create Christmas decorations with books or my upcycled pallet Christmas tree craft.
