

Mark your place and add a quick reminder note by attaching a few sticky notes to the top of this Paisley Owl Bookmark. Easy to make, cute to use, and a practical choice for book lovers, our adorable owl memo bookmark also makes a fabulous handmade gift.
You can also use your bookmark as a divider for a planner or school binder. Make multiple “memomarks,” using different colours and enjoy a parliament of owls to brighten up your day.
Owl Memo Bookmark: Instructions
Step One
Use cardstock to print the owl memo bookmark.
Step Two

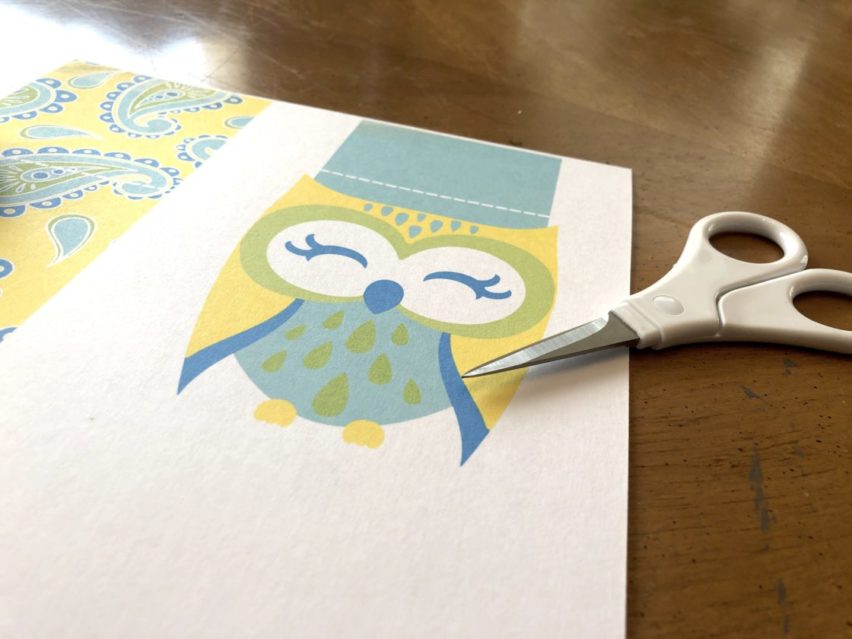
Carefully cut out both pieces of the bookmark using small sharp scissors.
Step Three

• With the owl facing up, fold and crease the top tab along the dotted line, toward the back.
Step Four

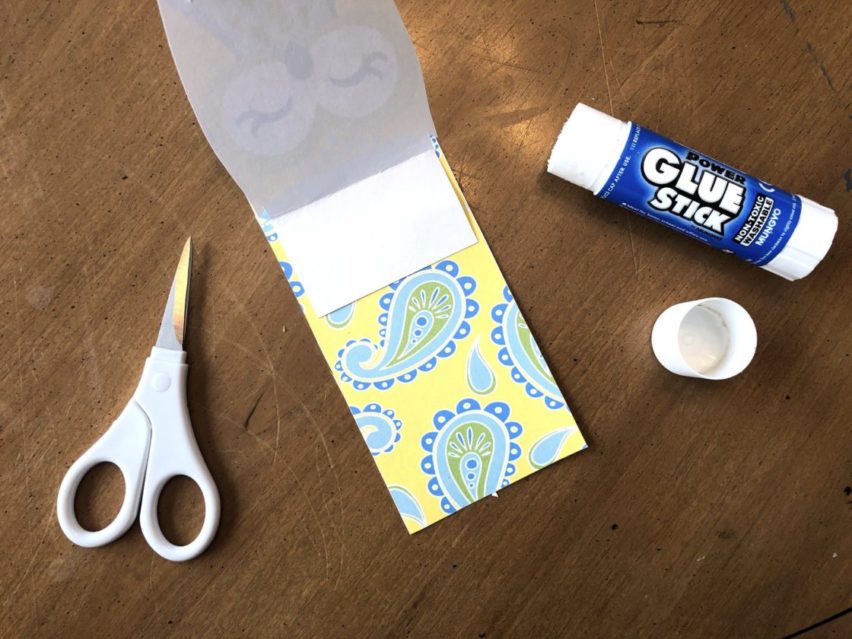
Apply glue to the folded back tab. Make sure both coloured sides are facing up, then press and glue the folded-back tab to the longer strip,
matching the crease to the dotted line.
Step Five
Allow to dry, and the owl is now your page clip!
Make it a Memo Owl


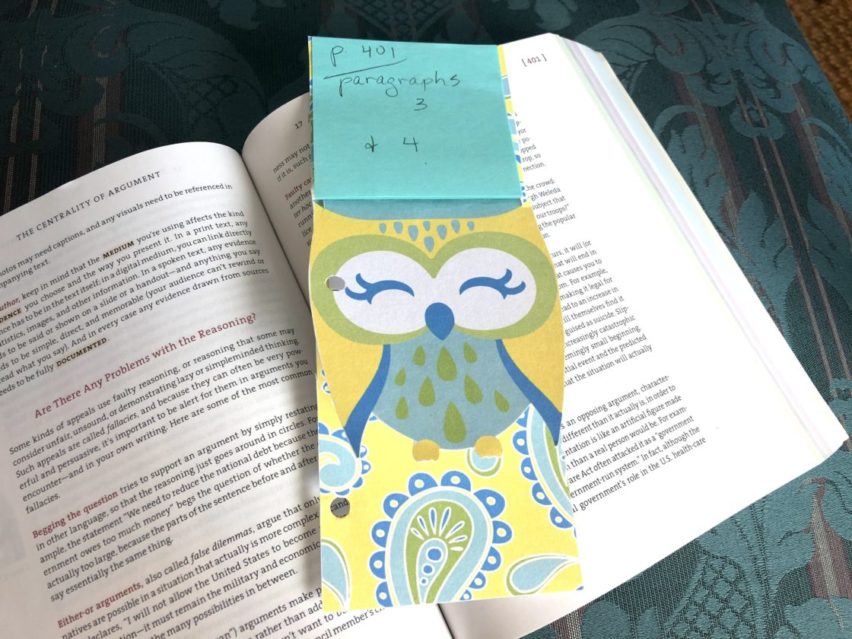
Take about 4-5 sticky notes and attach them to the top part of the bookmark. Now you can jot down a quick note while marking your place.
To Use Your Owl As A Planner Divider

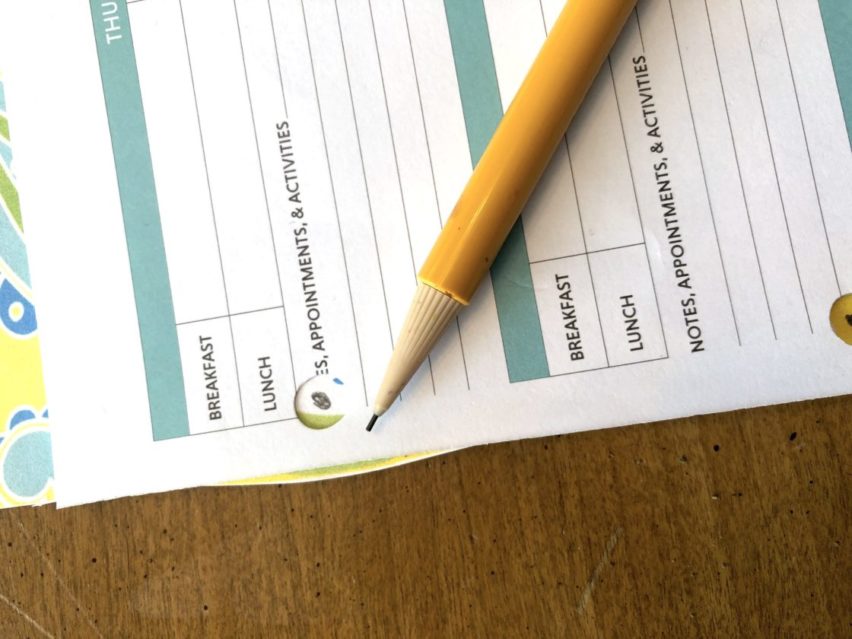
#1. Remove a sheet from your binder, place it on top of the owl, flap closed, and line the left edges up.
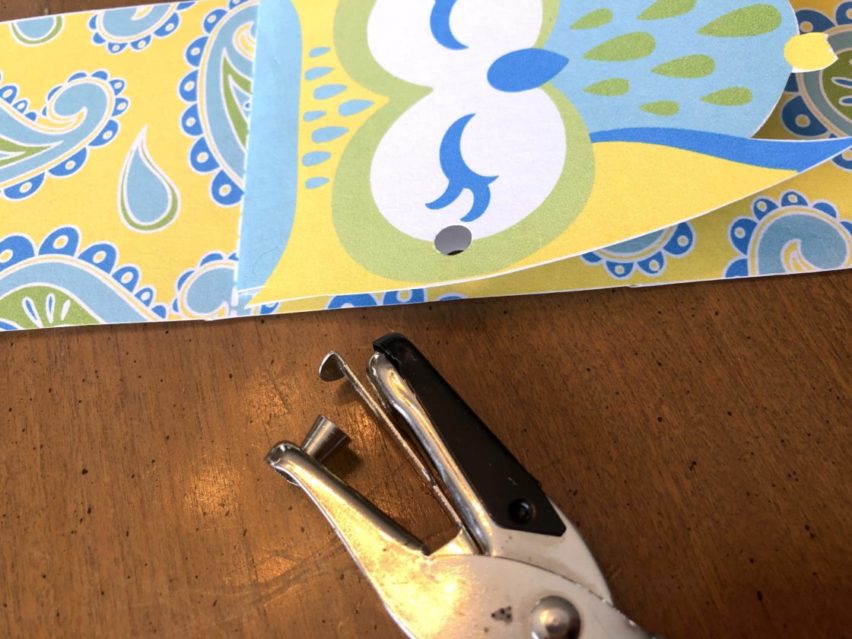
#4. Work out where you need to put the holes, mark the spots using a pencil and punch your holes.
