

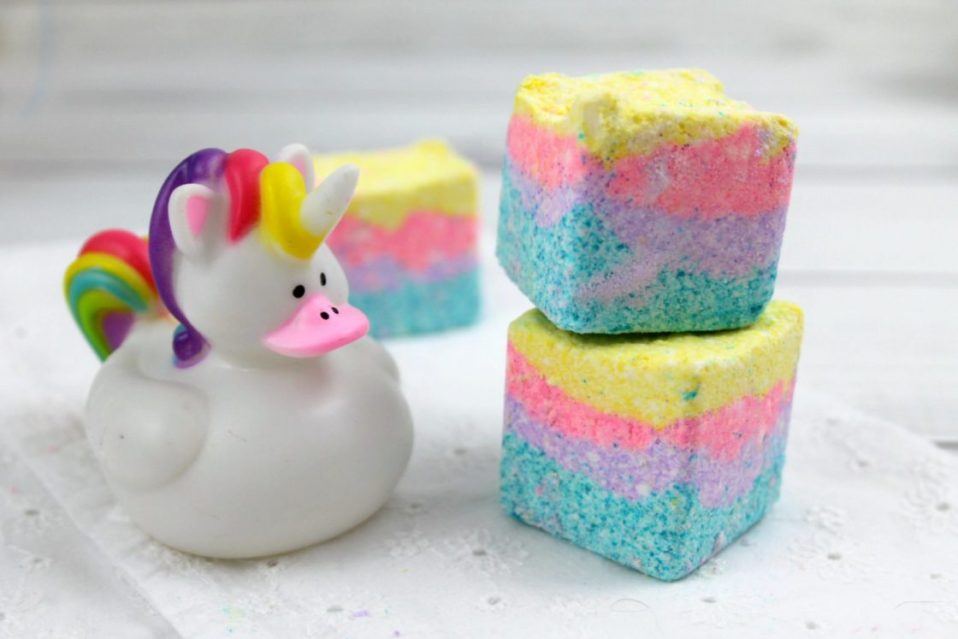
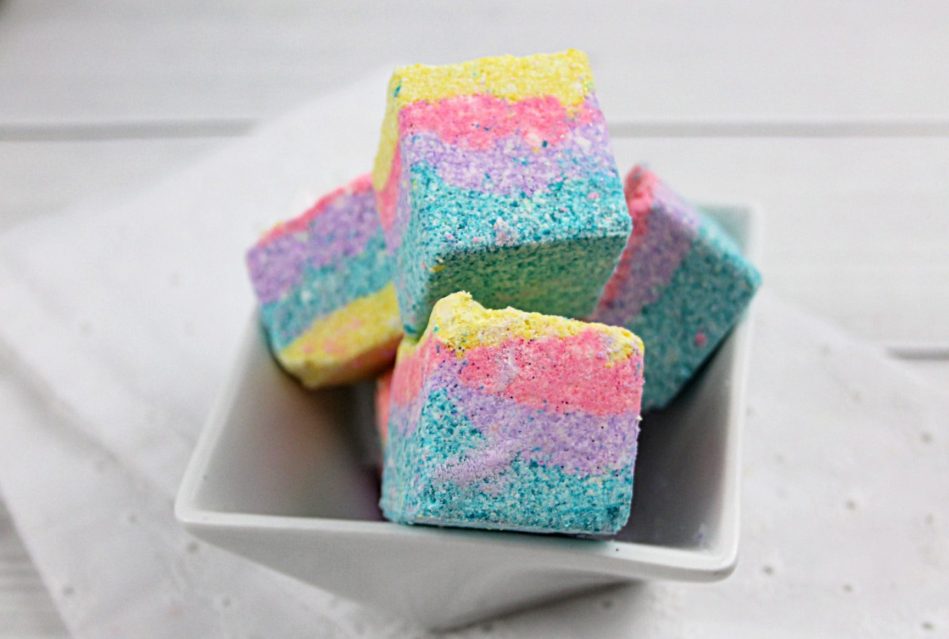
Looking for a fun yet simple homemade gift that really packs a punch? Well look no further, these fabulously cute unicorn sugar scrub cubes are easy to create at home and they make a wonderful gift for people of all ages.
Fill a mason jar with these babies and top off with a fancy bow, for a present that packs a punch – in the best way possible. You can also swap the cube mold for a unicorn mold and give this craft your own special twist.
And, if you’ve got two in the same family, or group of friends and you want to give each one something similar, yet different check out our:
Supplies
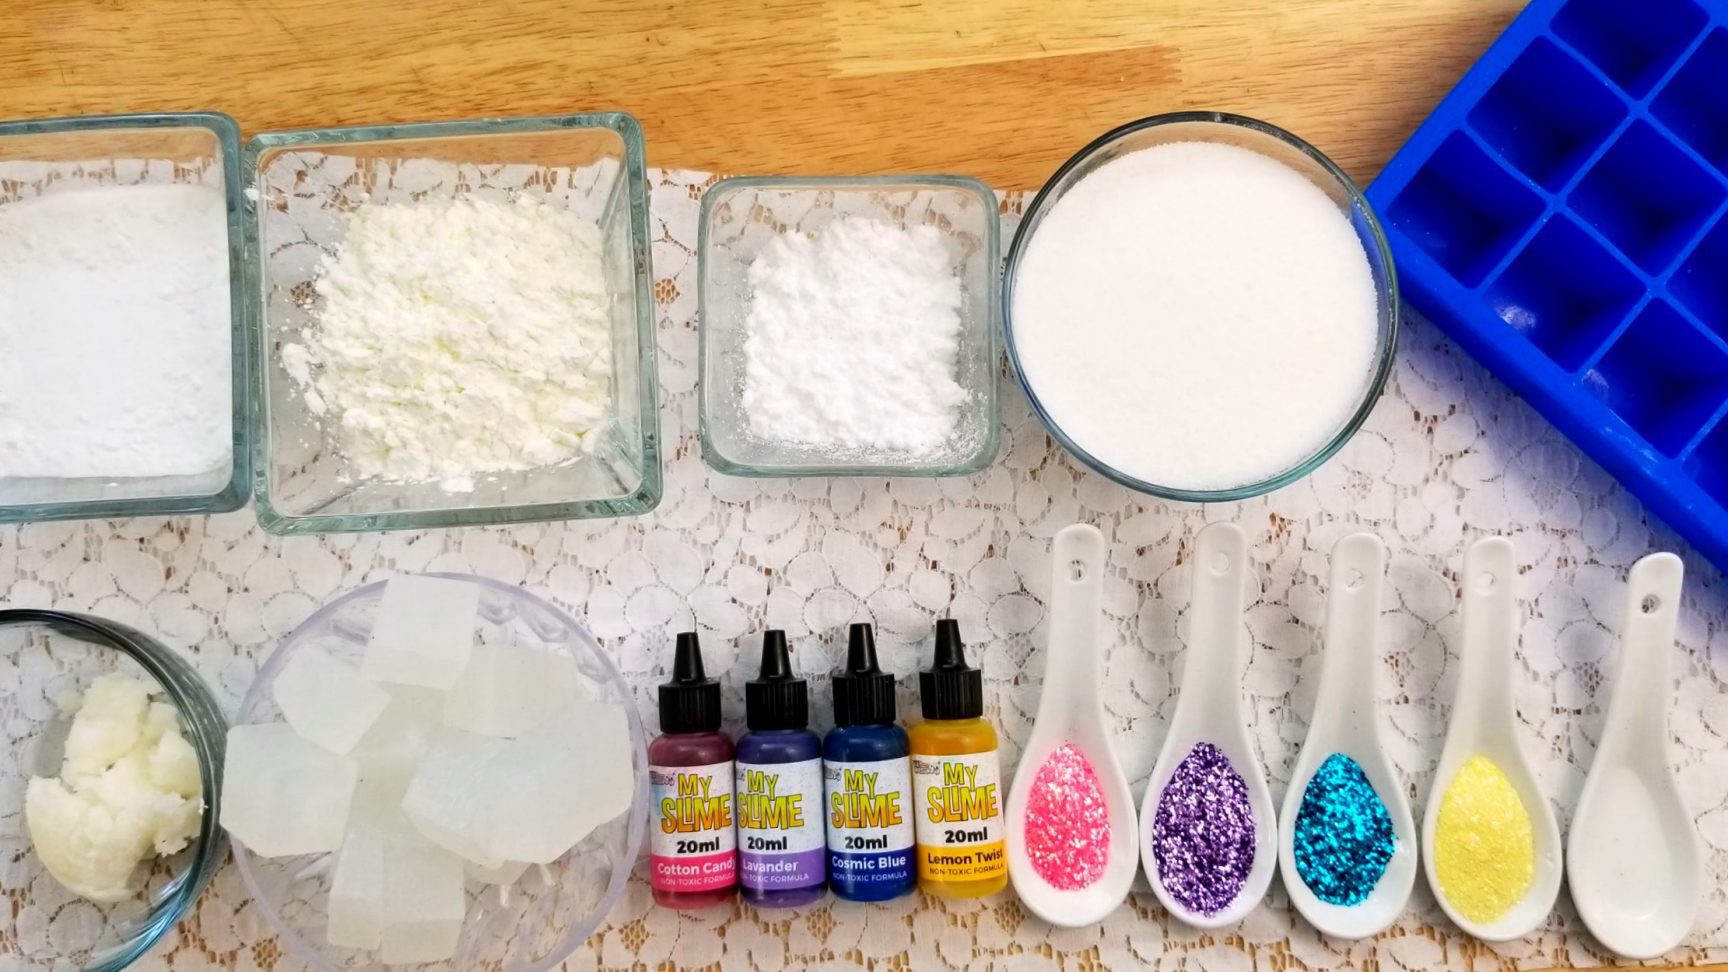
- 2 cups baking soda
- 1 cup citric acid
- 1/4 cup cornstarch
- 1 cup of white granulated sugar
- 1/3 cup coconut oil
- 5-7 cubes of clear melt and pour soap
- 1 teaspoon of blue cotton candy scented oil
- 1-2 drops of yellow, purple, teal and pink soap colorant – don’t use food coloring it may not be skin safe!
- 1-2 teaspoons of yellow, purple, teal and pink cosmetic glitter
- 1 large mixing bowl
- 4 small mixing bowls
- 1 silicone cube mold
Instructions
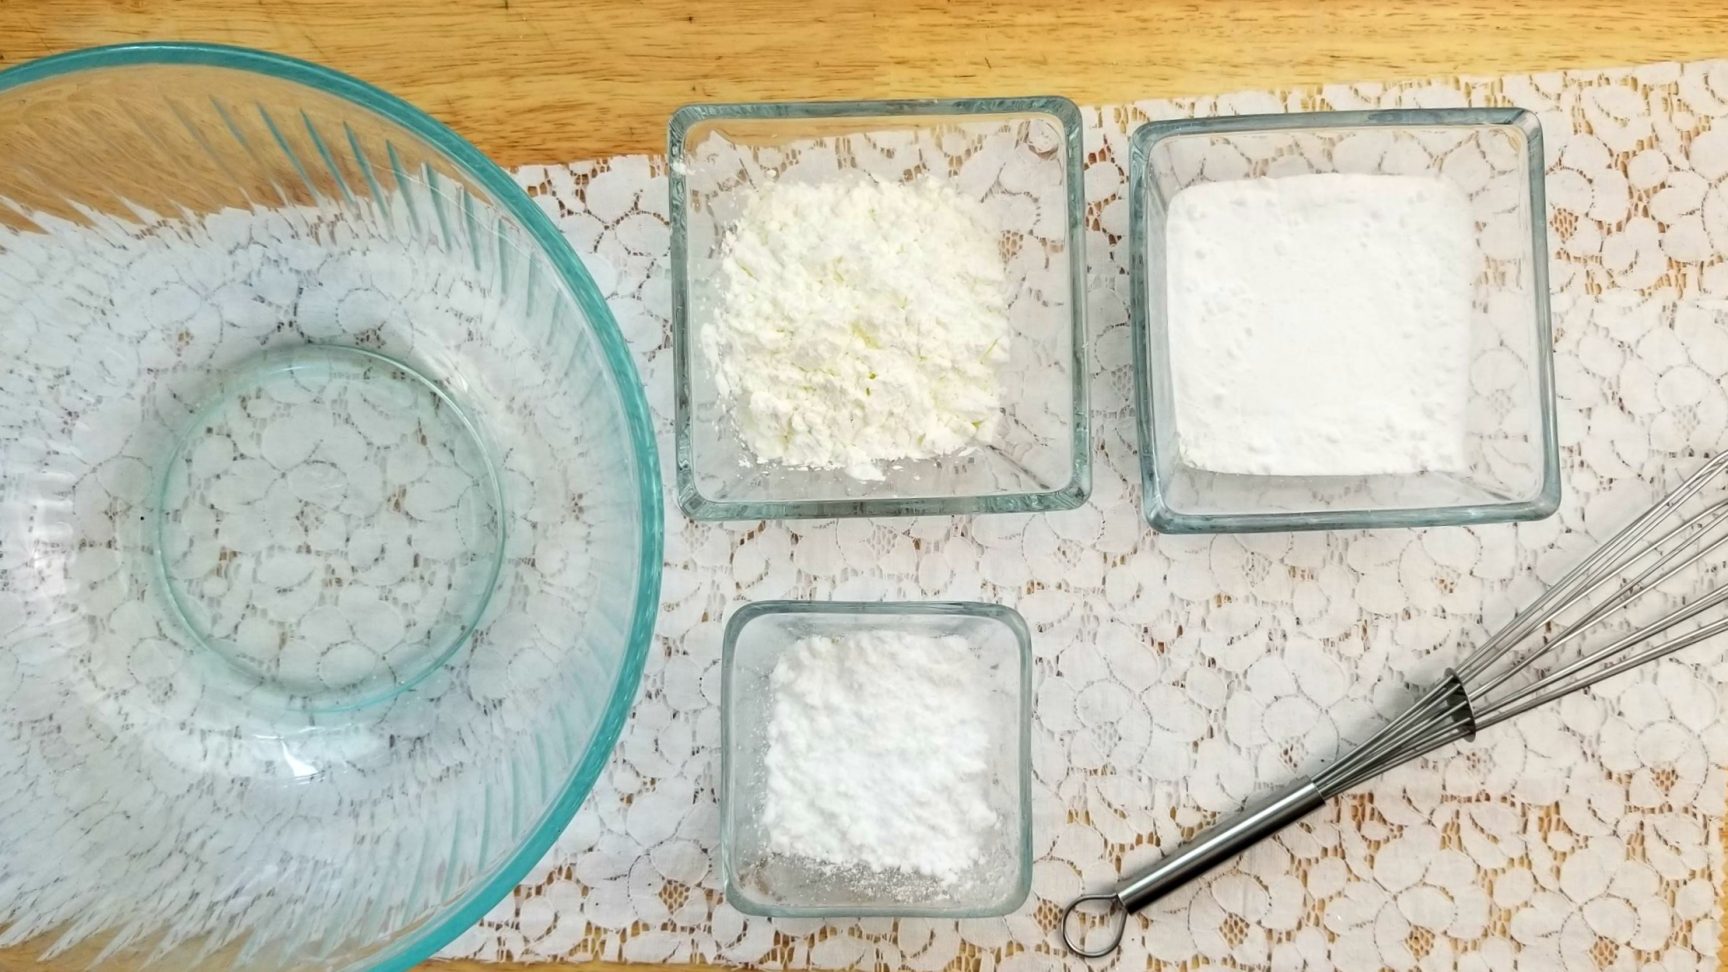
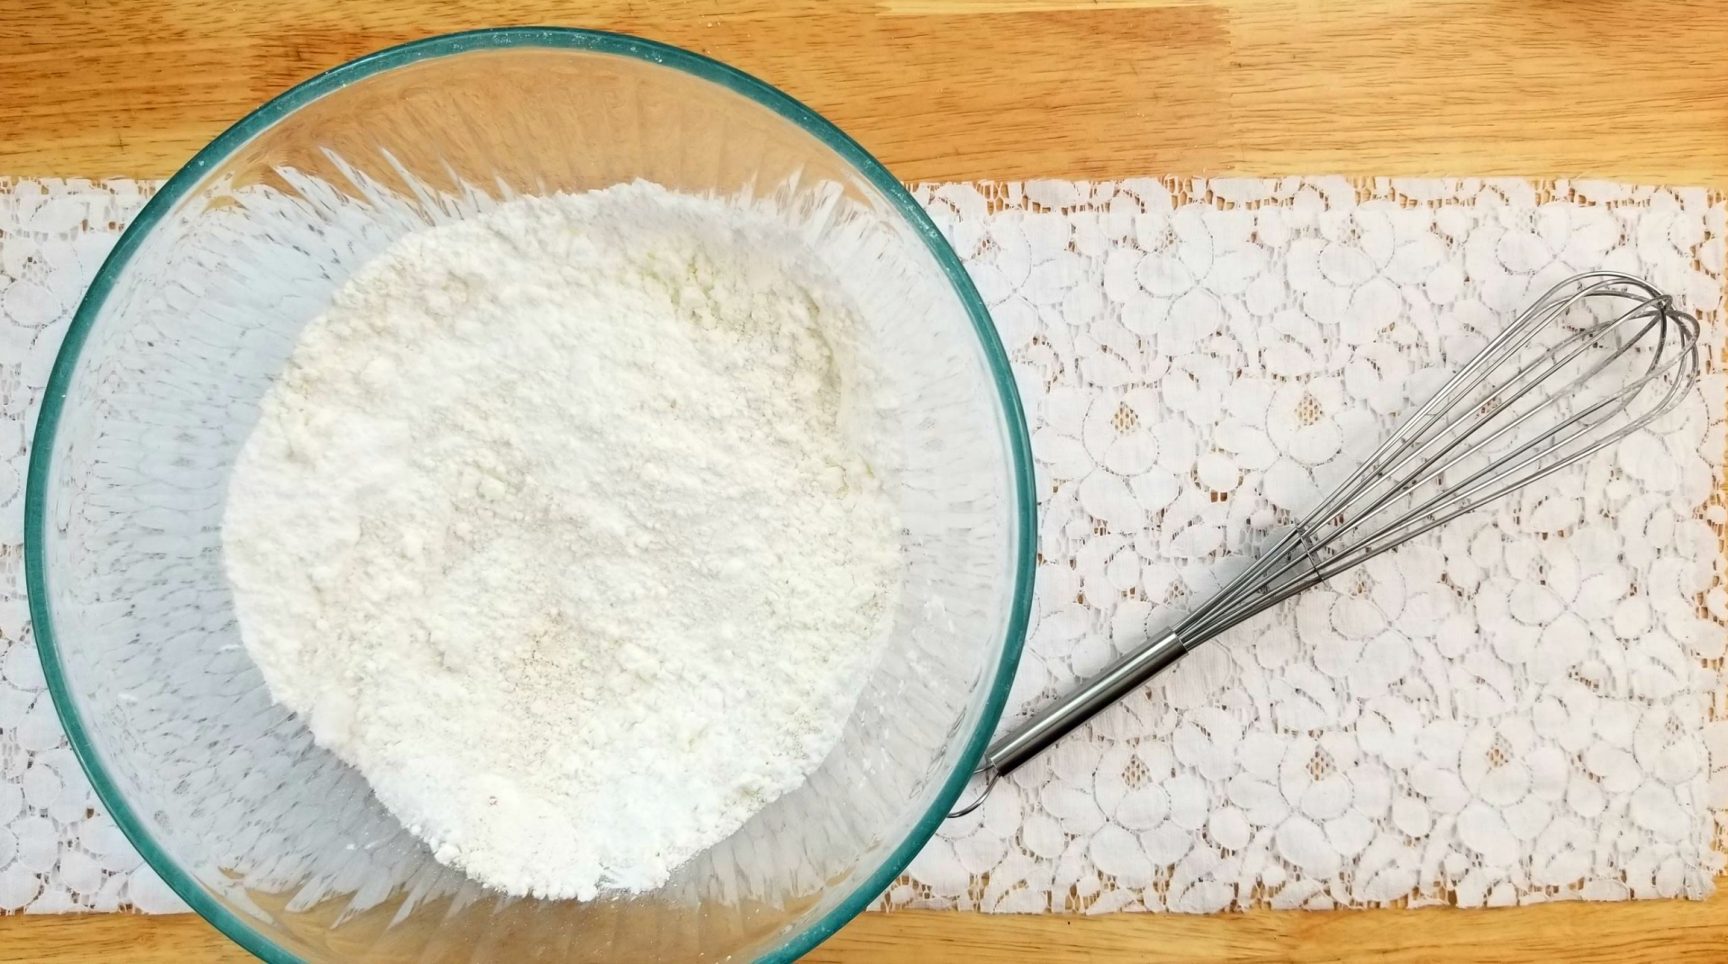
Steps 1-4: In a large mixing bowl, add the baking soda, citric acid, and cornstarch. Whisk dry ingredients together.
Steps 5: Add sugar and whisk into dry ingredients.
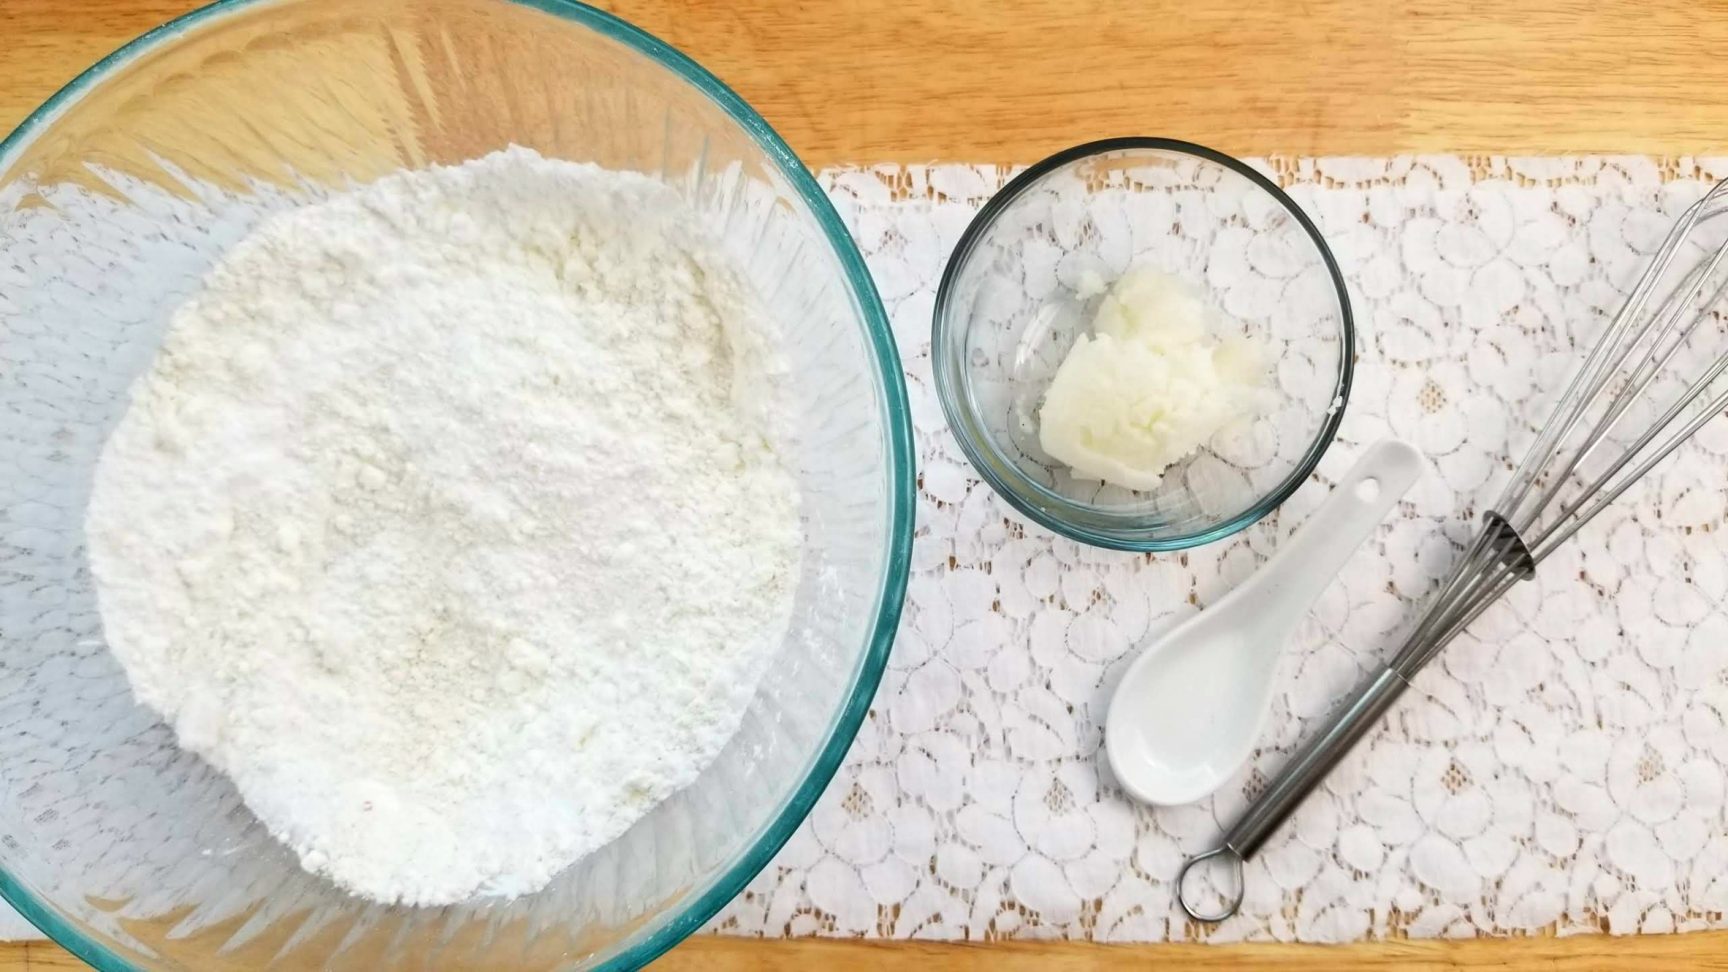
Step 6: Melt and add coconut oil and scented oil and whisk in.
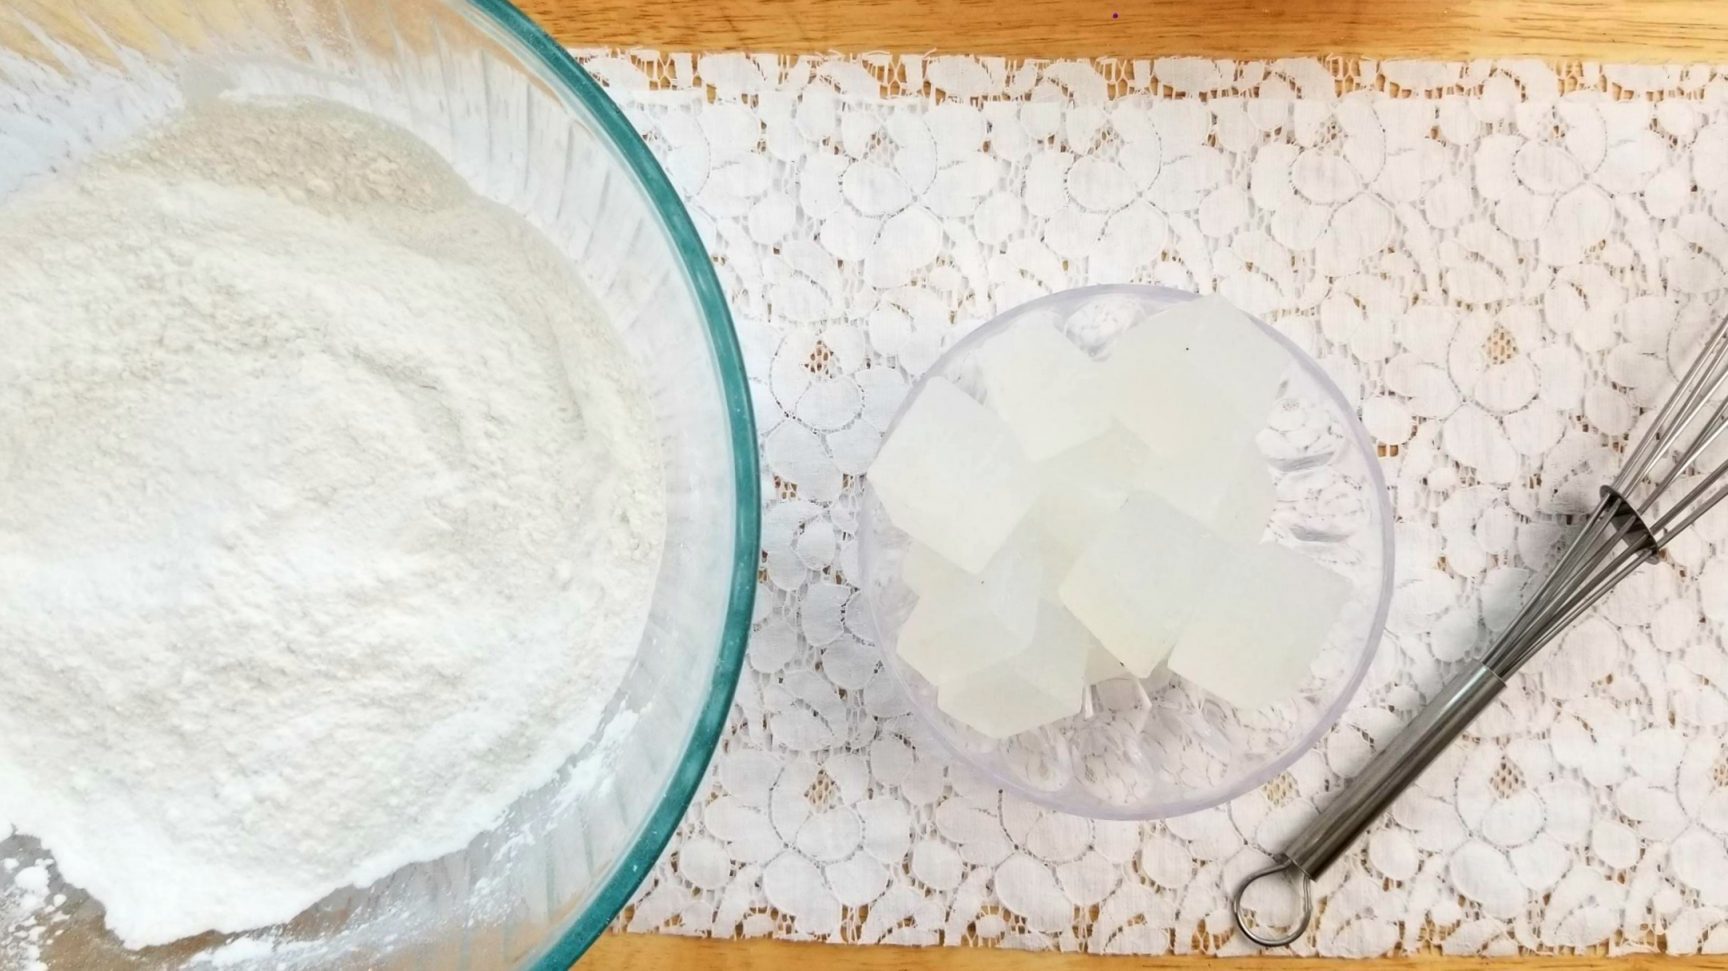
Step 7: Melt the soap and allow it to cool slightly. However, be sure not to let it harden. If it does, microwave it for a few seconds more.
Step 8: Add the melted soap to your bowl and mix well, using your fingers to break down any large lumps. This is why you need to ensure the soap is not too hot! The mixture is just right when it has the consistency of wet sand and holds together when you squish it tight in your hand.
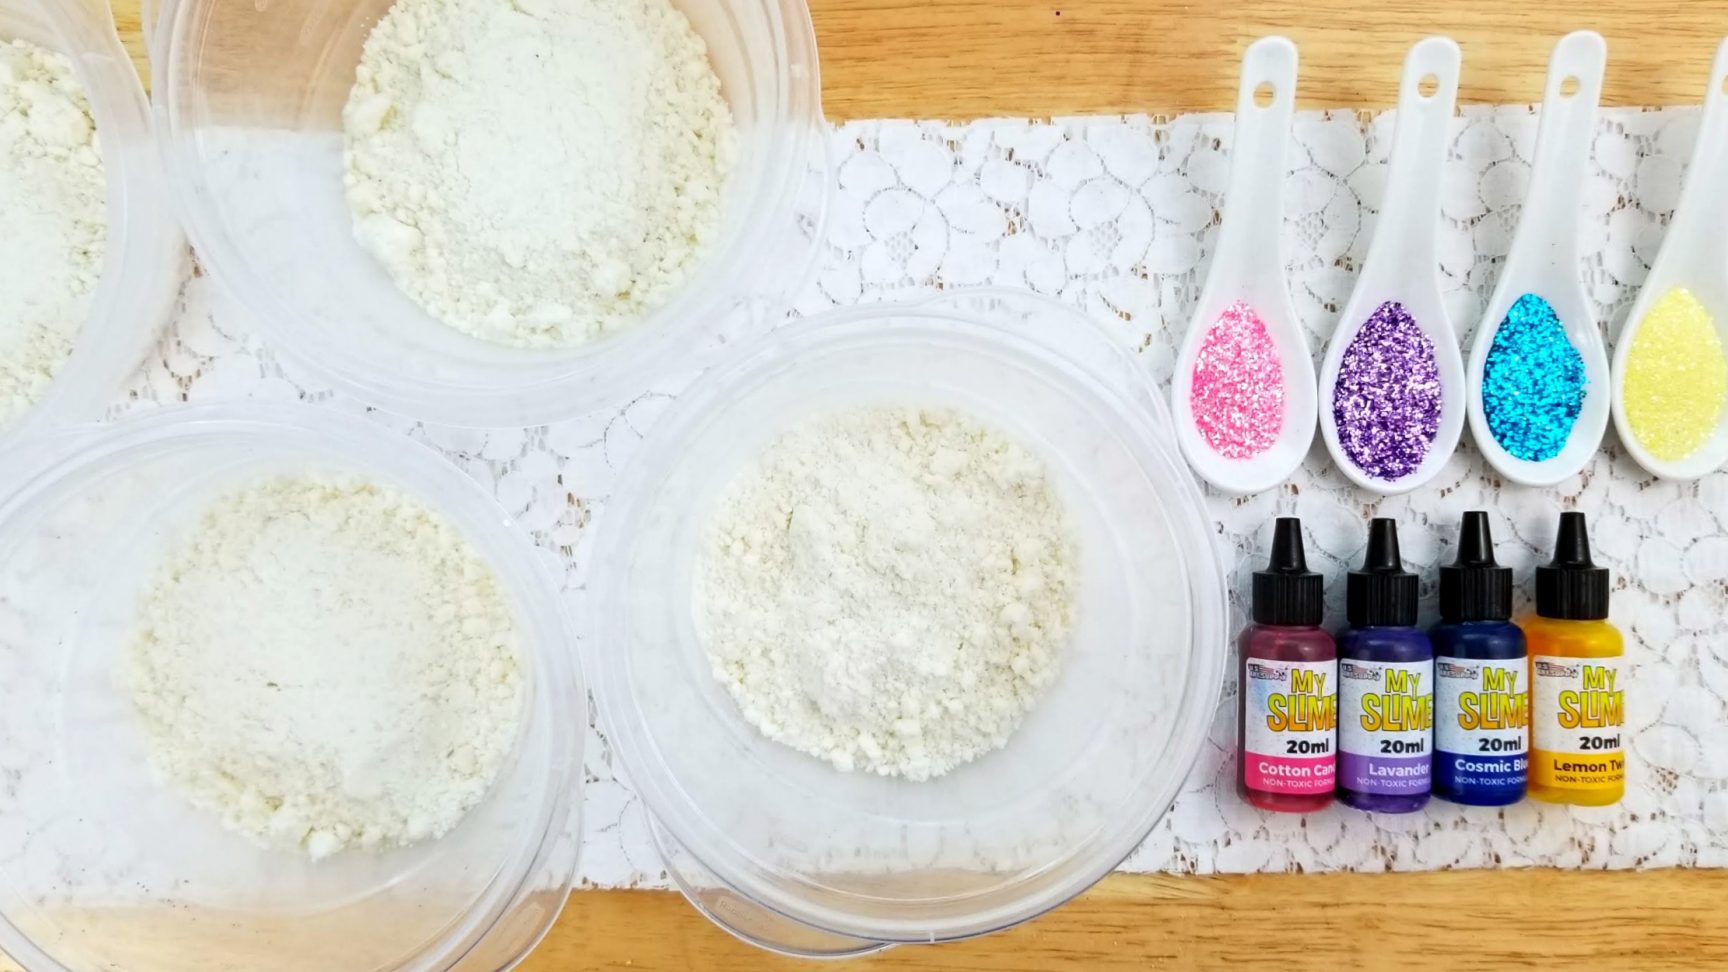
Step 9: Divide the soap crumble mixture evenly between your 4 smaller bowls.
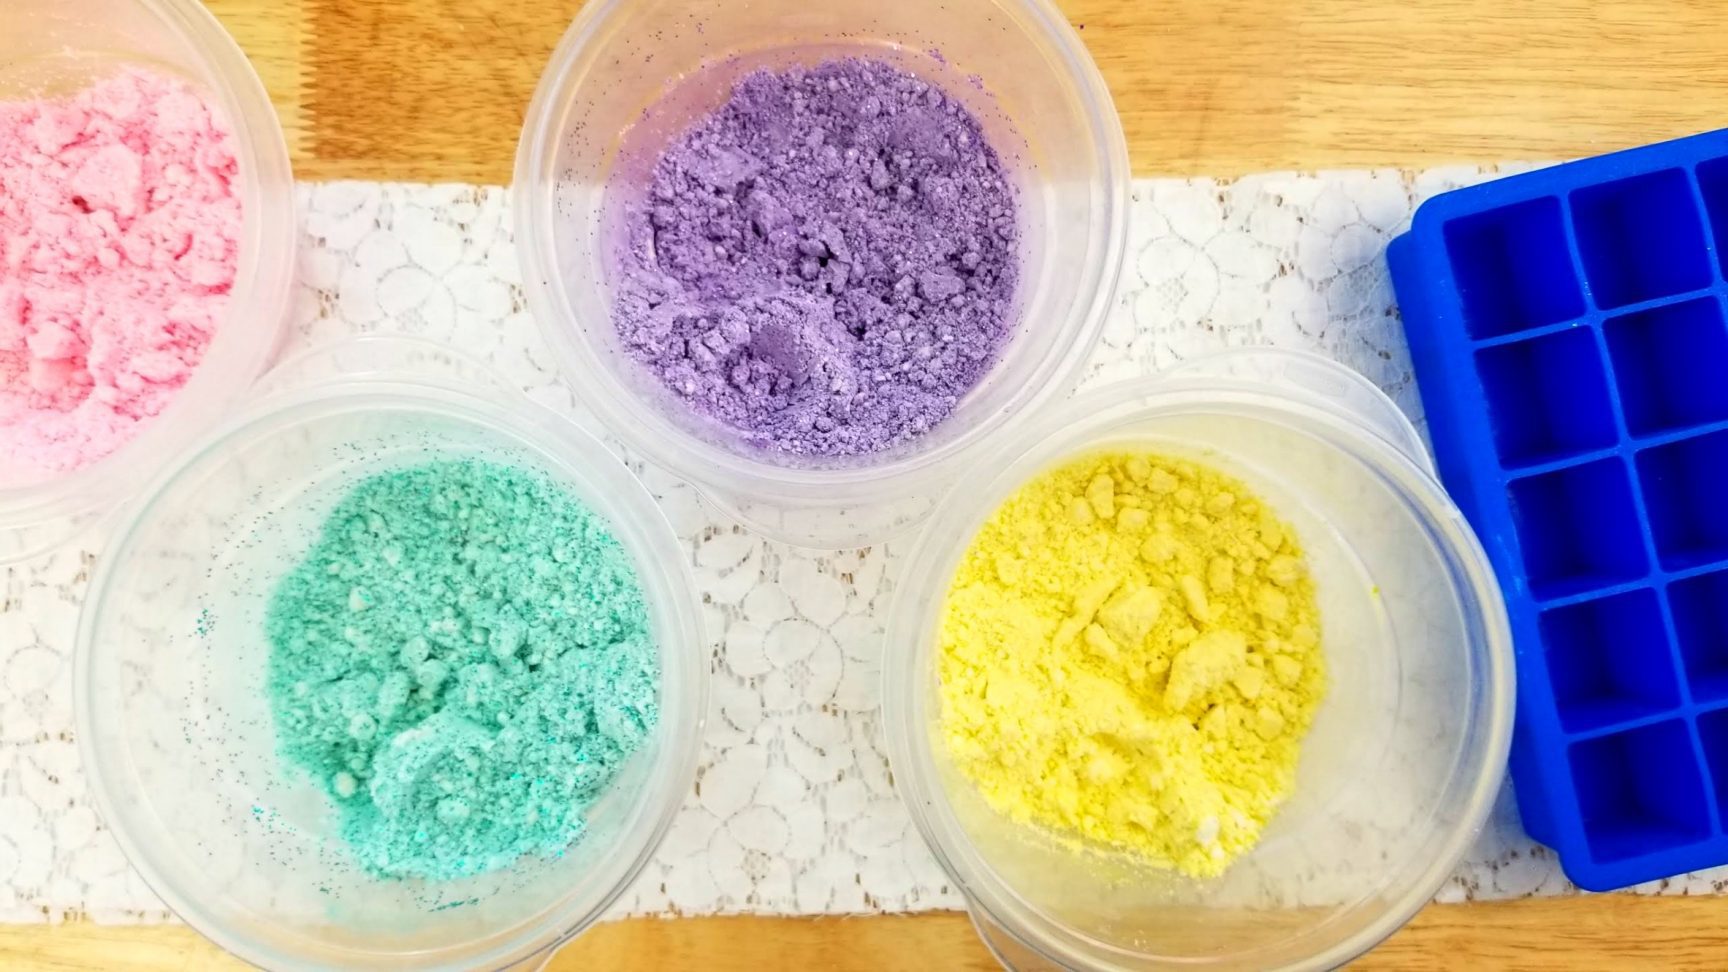
Step 10: Add 1-2 drops of your colors and 1-2 teaspoons of glitter to each bowl (pink in one bowl, yellow in the next bowl, etc.) Mix the color, soap mix, and glitter until they are all evenly distributed. You can adjust the depth of your colour by adding more but be careful not to add too much color or your mixture may become too wet and won’t hold together as well in the mold.
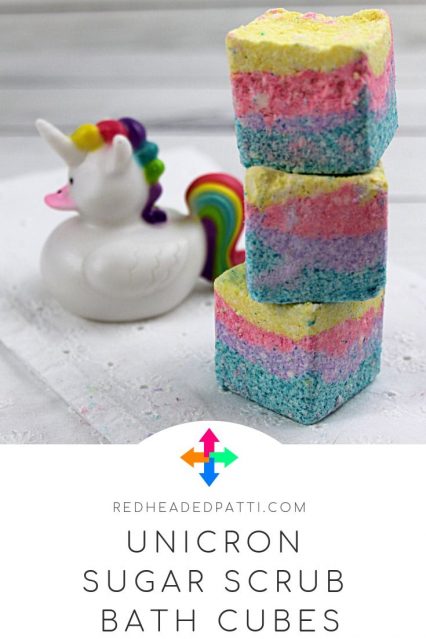
Step 11: Layer your mixture into your mold. We use about 1 tablespoon of each color in each cavity of the mold, press it down hard and then use the next, making three layers. However, you may want to do more layers or uneven layers so feel free to experiment and have fun with it! Fill to the top and pack down firmly.
Step 12: Allow to dry for at least 24-48 hours. To release the cubes, gently twist like an ice cube tray and when the cube begins to come out, pull gently.
