

Place cards always feel too formal for our family dinners, but that didn’t stop us from creating these cute Christmas tree place cards or decorations. You can use one or more trees to decorate your table and, if you want some fun place cards, there’s plenty of room on the star for a name.
The two-page PDF template for the Christmas trees is at the bottom of the post. Don’t worry; you don’t have to print double-sided, so there’s no need to think about aligning sheets or printer settings.
I’d recommend some 80lb card stock like this one from Hamilco, but any medium-weight card stock will work just as well. Card stock is measured in lbs, so look for something between 59lbs and 80lbs.
Step One
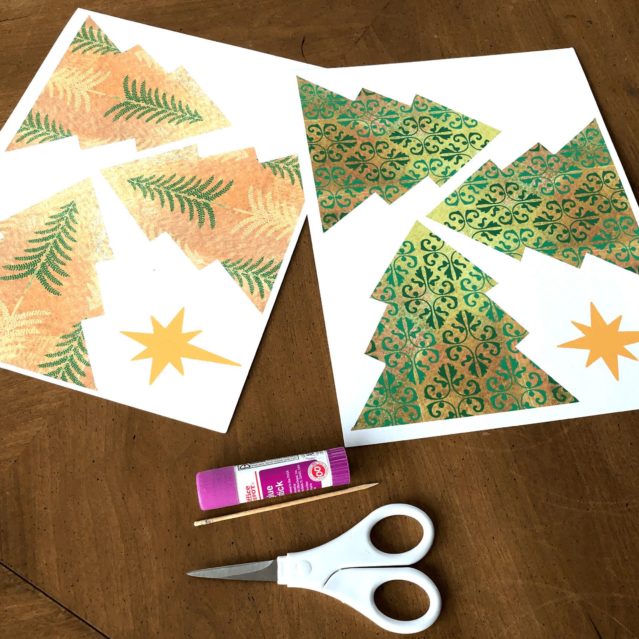
Using plain white card stock, print out both sheets.
Step Two

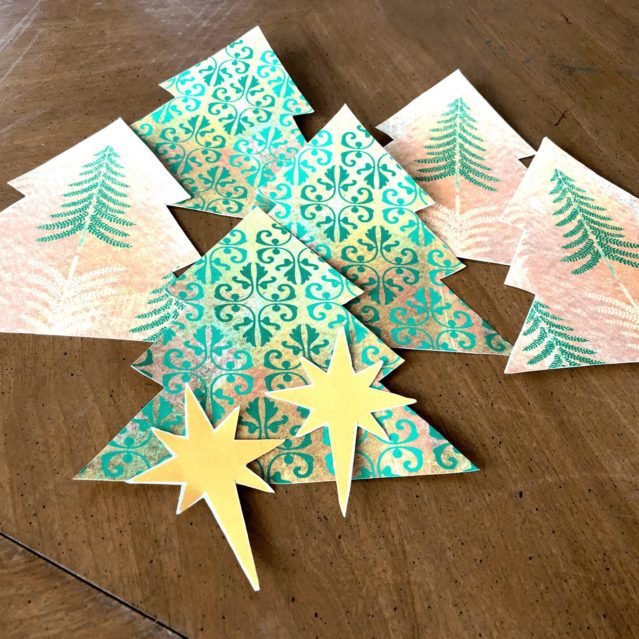
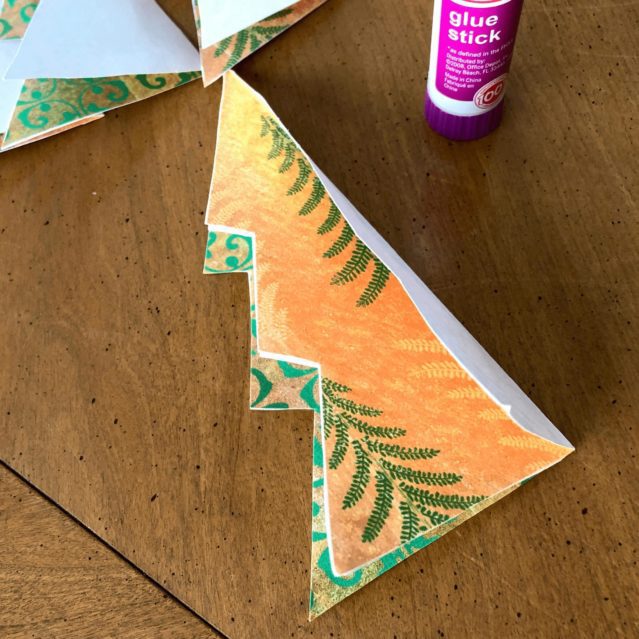
Using small, sharp scissors, cut out all six trees and two stars.
Step Three
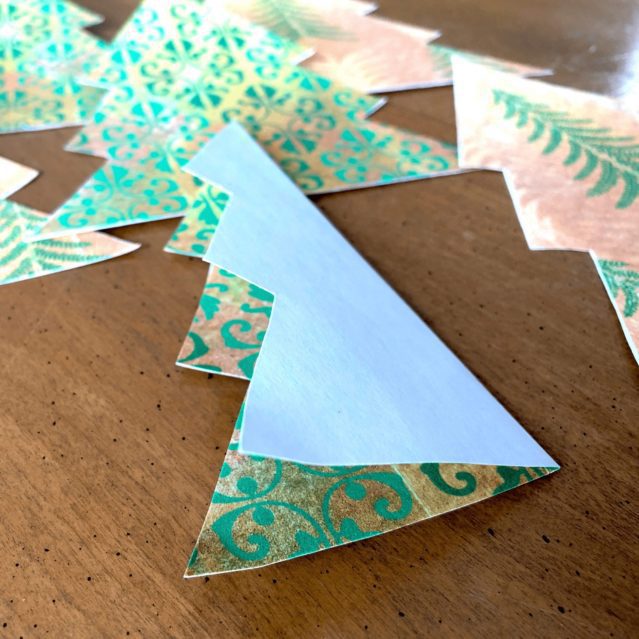
Fold all of the tree shapes in half with the pattern inside. Use a hard flat tool to crease the tree’s halves. This helps them to stay well folded.
Step Four
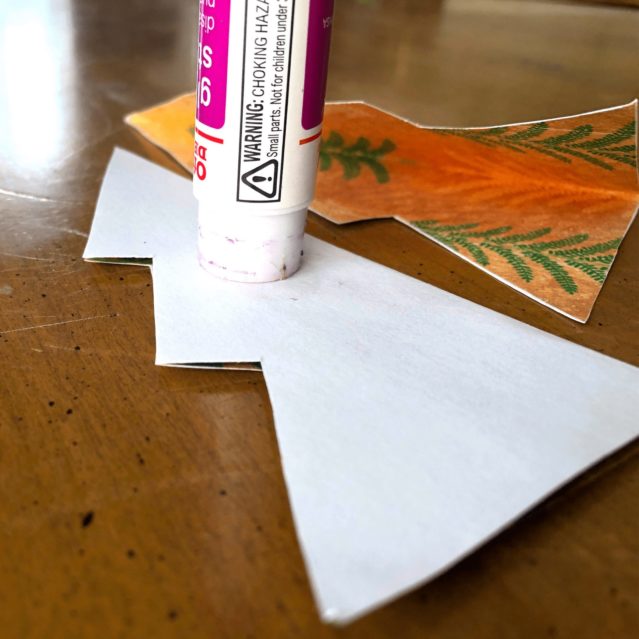
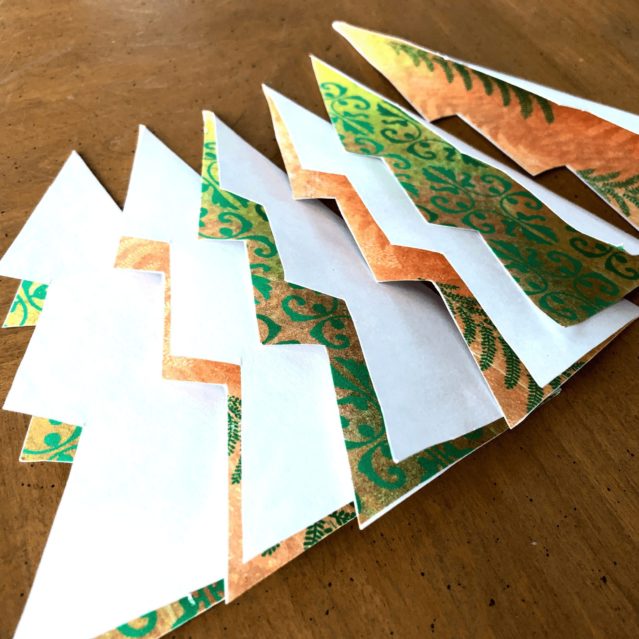
Apply glue to the outside half of one of the trees.
Step Five
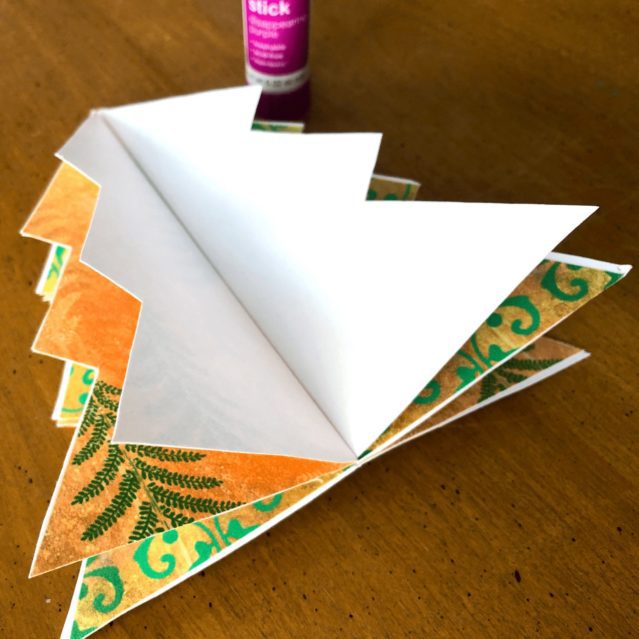
Choose another tree half in the contrasting pattern. Glue it to the first half, blank sides together carefully lining up the edges. Press down and allow a bit of time for the glue to dry.
Step Six
Glue each of the Christmas tree place card halves together, one on top of the next, to get a layered 3D tree shape.
Step Seven
Continue until you’re out of tree halves. (Glue the last two halves together.)
Step Eight

Next, if you’re going to use them as place cards, write a name on the star. Alternatively, leave them blank or write a holiday greeting.
Step Nine

Glue the two stars together, with a toothpick in the middle.


(optional) Paint your tree with Mod Podge Sparkle. The glue layer helps the tree be a bit more sturdy and adds some special glimmer to it!
Step Ten

Allow the tree to dry for several hours and add some glue to the end of the toothpick. Insert it into the top of the tree, and you’re done.


