

When it comes to crafts, the right supplies can make all the difference in how well your projects turn out. And versatile supplies can be a great way to work on a lot of different crafts at once on a range of different materials.
Let’s talk about Sharpies, for example. Many people assume these are just the black markers that we use in work and at home to label things. But Sharpies are much more than that. They come in a whole range of colors and tip types, and a few steps can make your Sharpies work on everything from glass to ceramic.
For example, could your kitchen need a little organization? If so, then Sharpies are great for mason jars; use them to draw some figures or just give your pantry some clear labels.
What else can you do with a Sharpie? Depends on what type—and this graphic explains a whole host of ideas.
Where do I begin? Types of Sharpies
Which Sharpie should you take to the crafting table? There are hundreds of types of Sharpies, from fine point to chisel point, from glitter to oil-based paint. We’ve selected a handful of choices that make great options for DIY projects, but make sure to check out Sharpie’s entire list of products to find a marker or pen that works best for you. The traditional Sharpie marker we all know and love comes in a variety of colors with different tip sizes and shapes. These include fine point, ultra fine point, extra fine point, chisel tip, and super permanent marker. These can be used on paper, plastic, metal, and most other surfaces.
Check out some of these other Sharpie options.
- This option feels like you’re writing with a paint brush. It comes in 12 colors and the flexible tip allows for both bold and fine lines.
- For classy DIY projects, use this option. These metallic markers work on both light and dark surfaces and come in gold, silver, or bronze.
- This paper-wrapped marker is as cool as it gets. Just pull the string and peel back to refresh the tip. This is a great option for writing on china, glass, and plastic.
- These paint markers come in various colors and points (fine, medium, and bold) and can be used on nearly anything, from wood to glass and ceramic.
- These opaque markers, which come in extra fine point, fine point, medium point, bold point, and glitter, offer the look of traditional painting with less mess and more control.
- Brighten up your fabrics with stained Sharpies, a fun option specifically made for writing and coloring on fabric. Use these to decorate clothes, quilts, and more.
- DIY on the go! These markers are half the size of traditional Sharpies and are perfect to keep in your bag, on your keychain, or even in your pocket.
DIY Sharpie craft ideas
Now that you know which types of Sharpies there are to choose from, it’s time to move onto the fun stuff: DIY craft ideas. Try your hand at one of these projects. You might surprise yourself at what you can accomplish with a handful of Sharpie markers and pens.
In the kitchen
- Pantry containers: Re-organize your kitchen staples by placing dry items (such as flour, dry beans, and sugar, for example) in labeled and decorated mason jars. Use Sharpie water-based paint markers, which work great on glass, to draw fun designs or simply label your jars.
- Teapot: Everyone needs a teapot or hot water kettle. If you can get your hands on a plain white or light-colored ceramic teapot, the opportunities for decoration are endless. Use an oil-based Sharpie paint pen for lines and dots, flowers, or any design you like.
- Mugs: Once you decorate your tea kettle, move on to some matching mugs. Oil-based paint Sharpies are a great option. Pro tip: After decorating, bake the mug in the oven for 2 hours at 250°F to cure your design so it will last longer.
Around the house
- Outlet covers: We all have electrical outlets, but they are rarely interesting to look at. Change that ASAP with the help of a Sharpie. Use traditional, brush tip, or metallic Sharpie markers to add blocks of color, patterns, or simple designs to the outlet covers throughout your house.
- Lampshades: Using oil-based paint markers, add designs, shapes, stencils, or even a quote from your favorite song or poem to a plain lampshade.
- Wallpaper: Impress all of your house guests by decorating your own wallpaper with Sharpies. While this will take longer than one rainy afternoon, you can plug away at this project when you have chunks of free time (and you don’t need to worry about the prep and cleanup of paint or traditional wallpaper). Choose the Sharpie Chisel Tip marker if you’re going for an intricate pattern, or try the fine or ultra-fine tip for extra-detailed designs.
Accessories
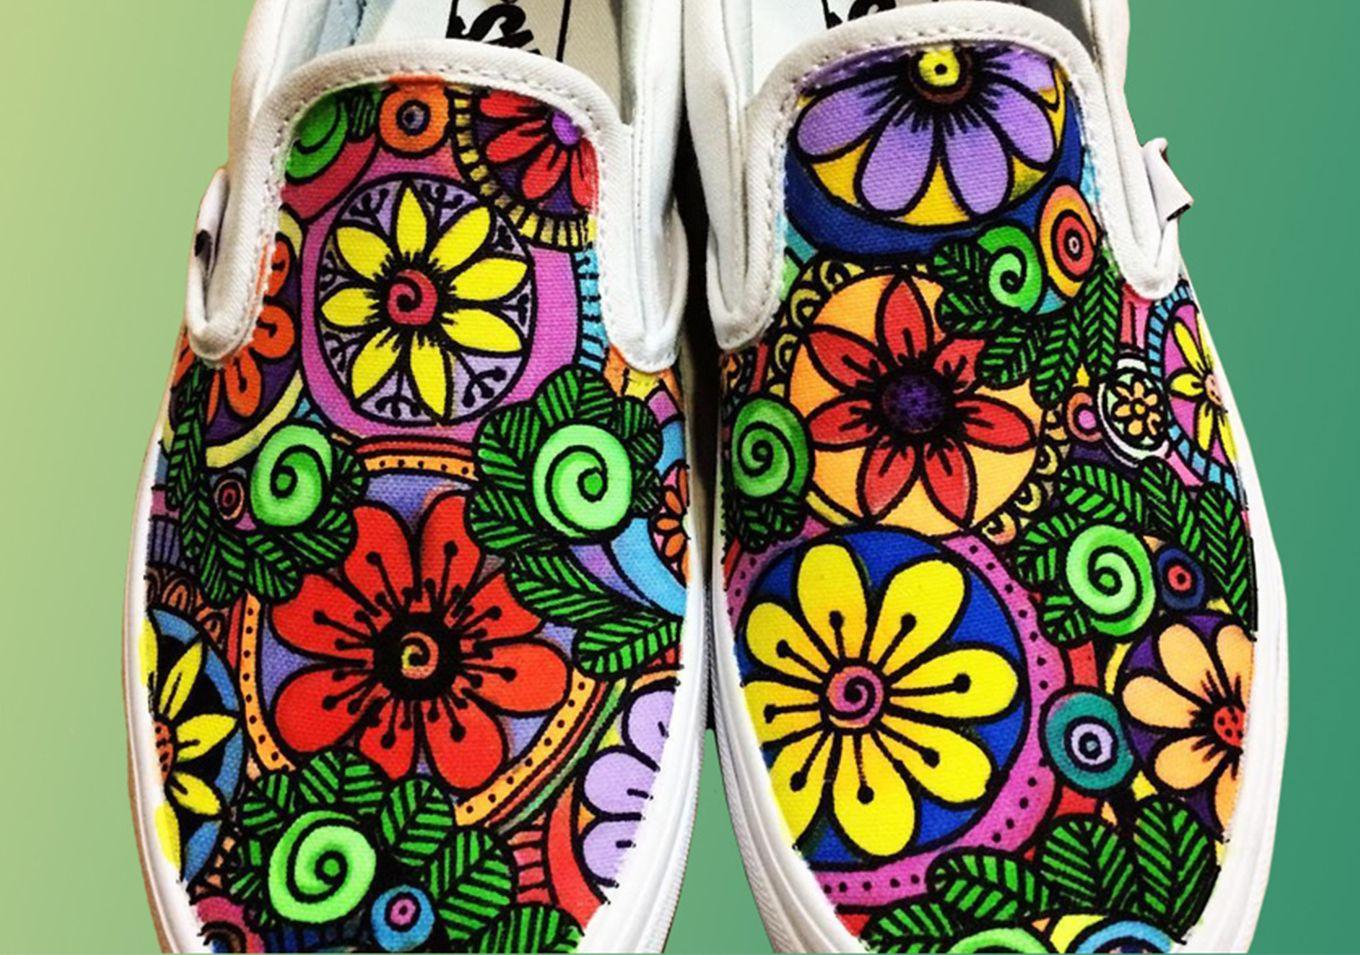
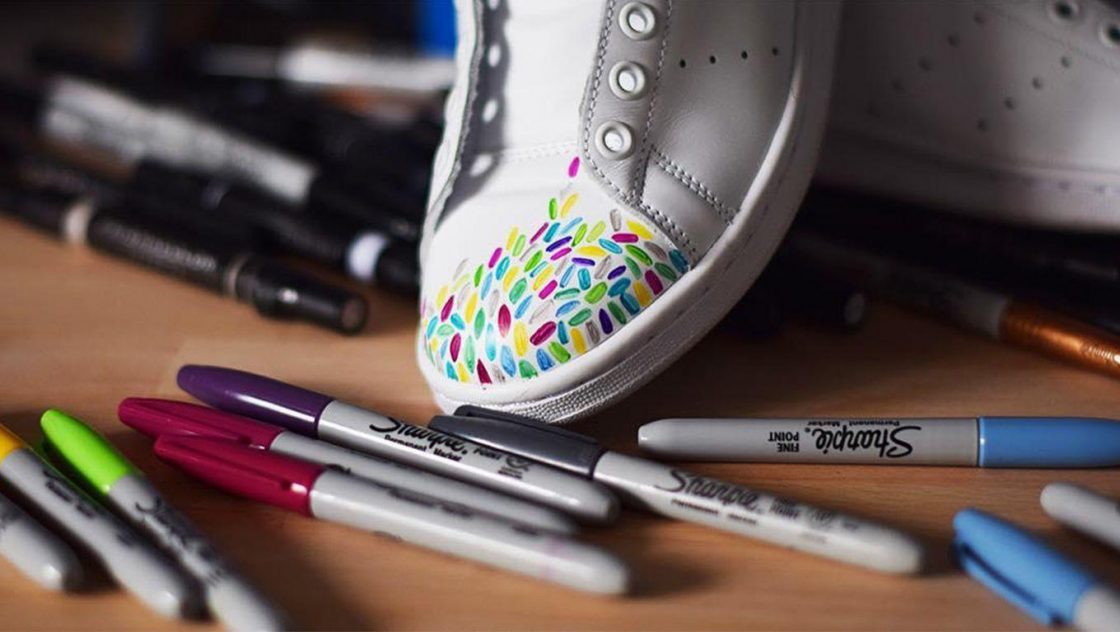
- Sneakers: Draw on plain white shoes with Sharpie markers or stained Sharpies. From there, dip a cotton swab in some rubbing alcohol, and dab it on the shoe to blend the colors together. You’ll go from plain to tie-dye in just a few minutes.
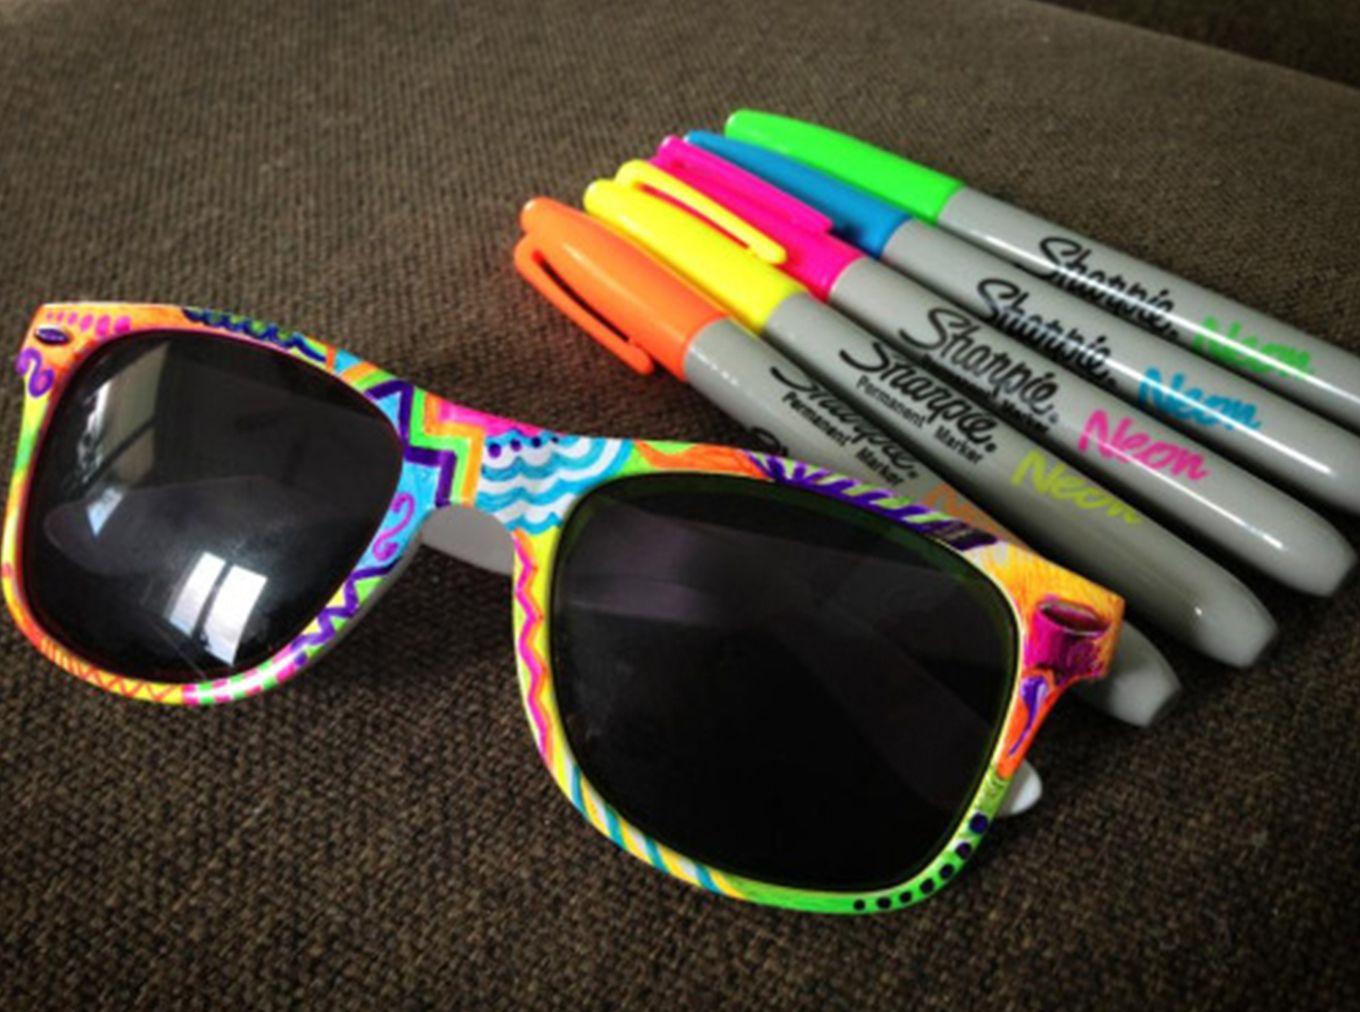
- Phone cases: Jazz up your phone case with an array of Sharpie options. Sketch out your drawing in pencil first, and then trace over it with marker. You can even add a layer of clear white nail polish over the case to seal the design.
- Water bottle: Customize your water bottle with oil-based paint Sharpies or China markers. Just make sure you pick the best Sharpie for the type of bottle material, whether it’s aluminum, plastic, glass, or something else entirely.
Endless opportunities
Opportunities abound when it comes to Sharpie crafts. You can also make stand-out gifts with just a handful of supplies (woodround artwork, anyone?). Wrap your creation in handmade gift wrap (decorate brown craft paper with a traditional Sharpie marker) and you’ll have a personalized and thoughtful gift anyone will love.
The next time it’s a rainy day or you just simply want to stay inside and flex those creative muscles, get out your Sharpies and start creating!


