

Materials
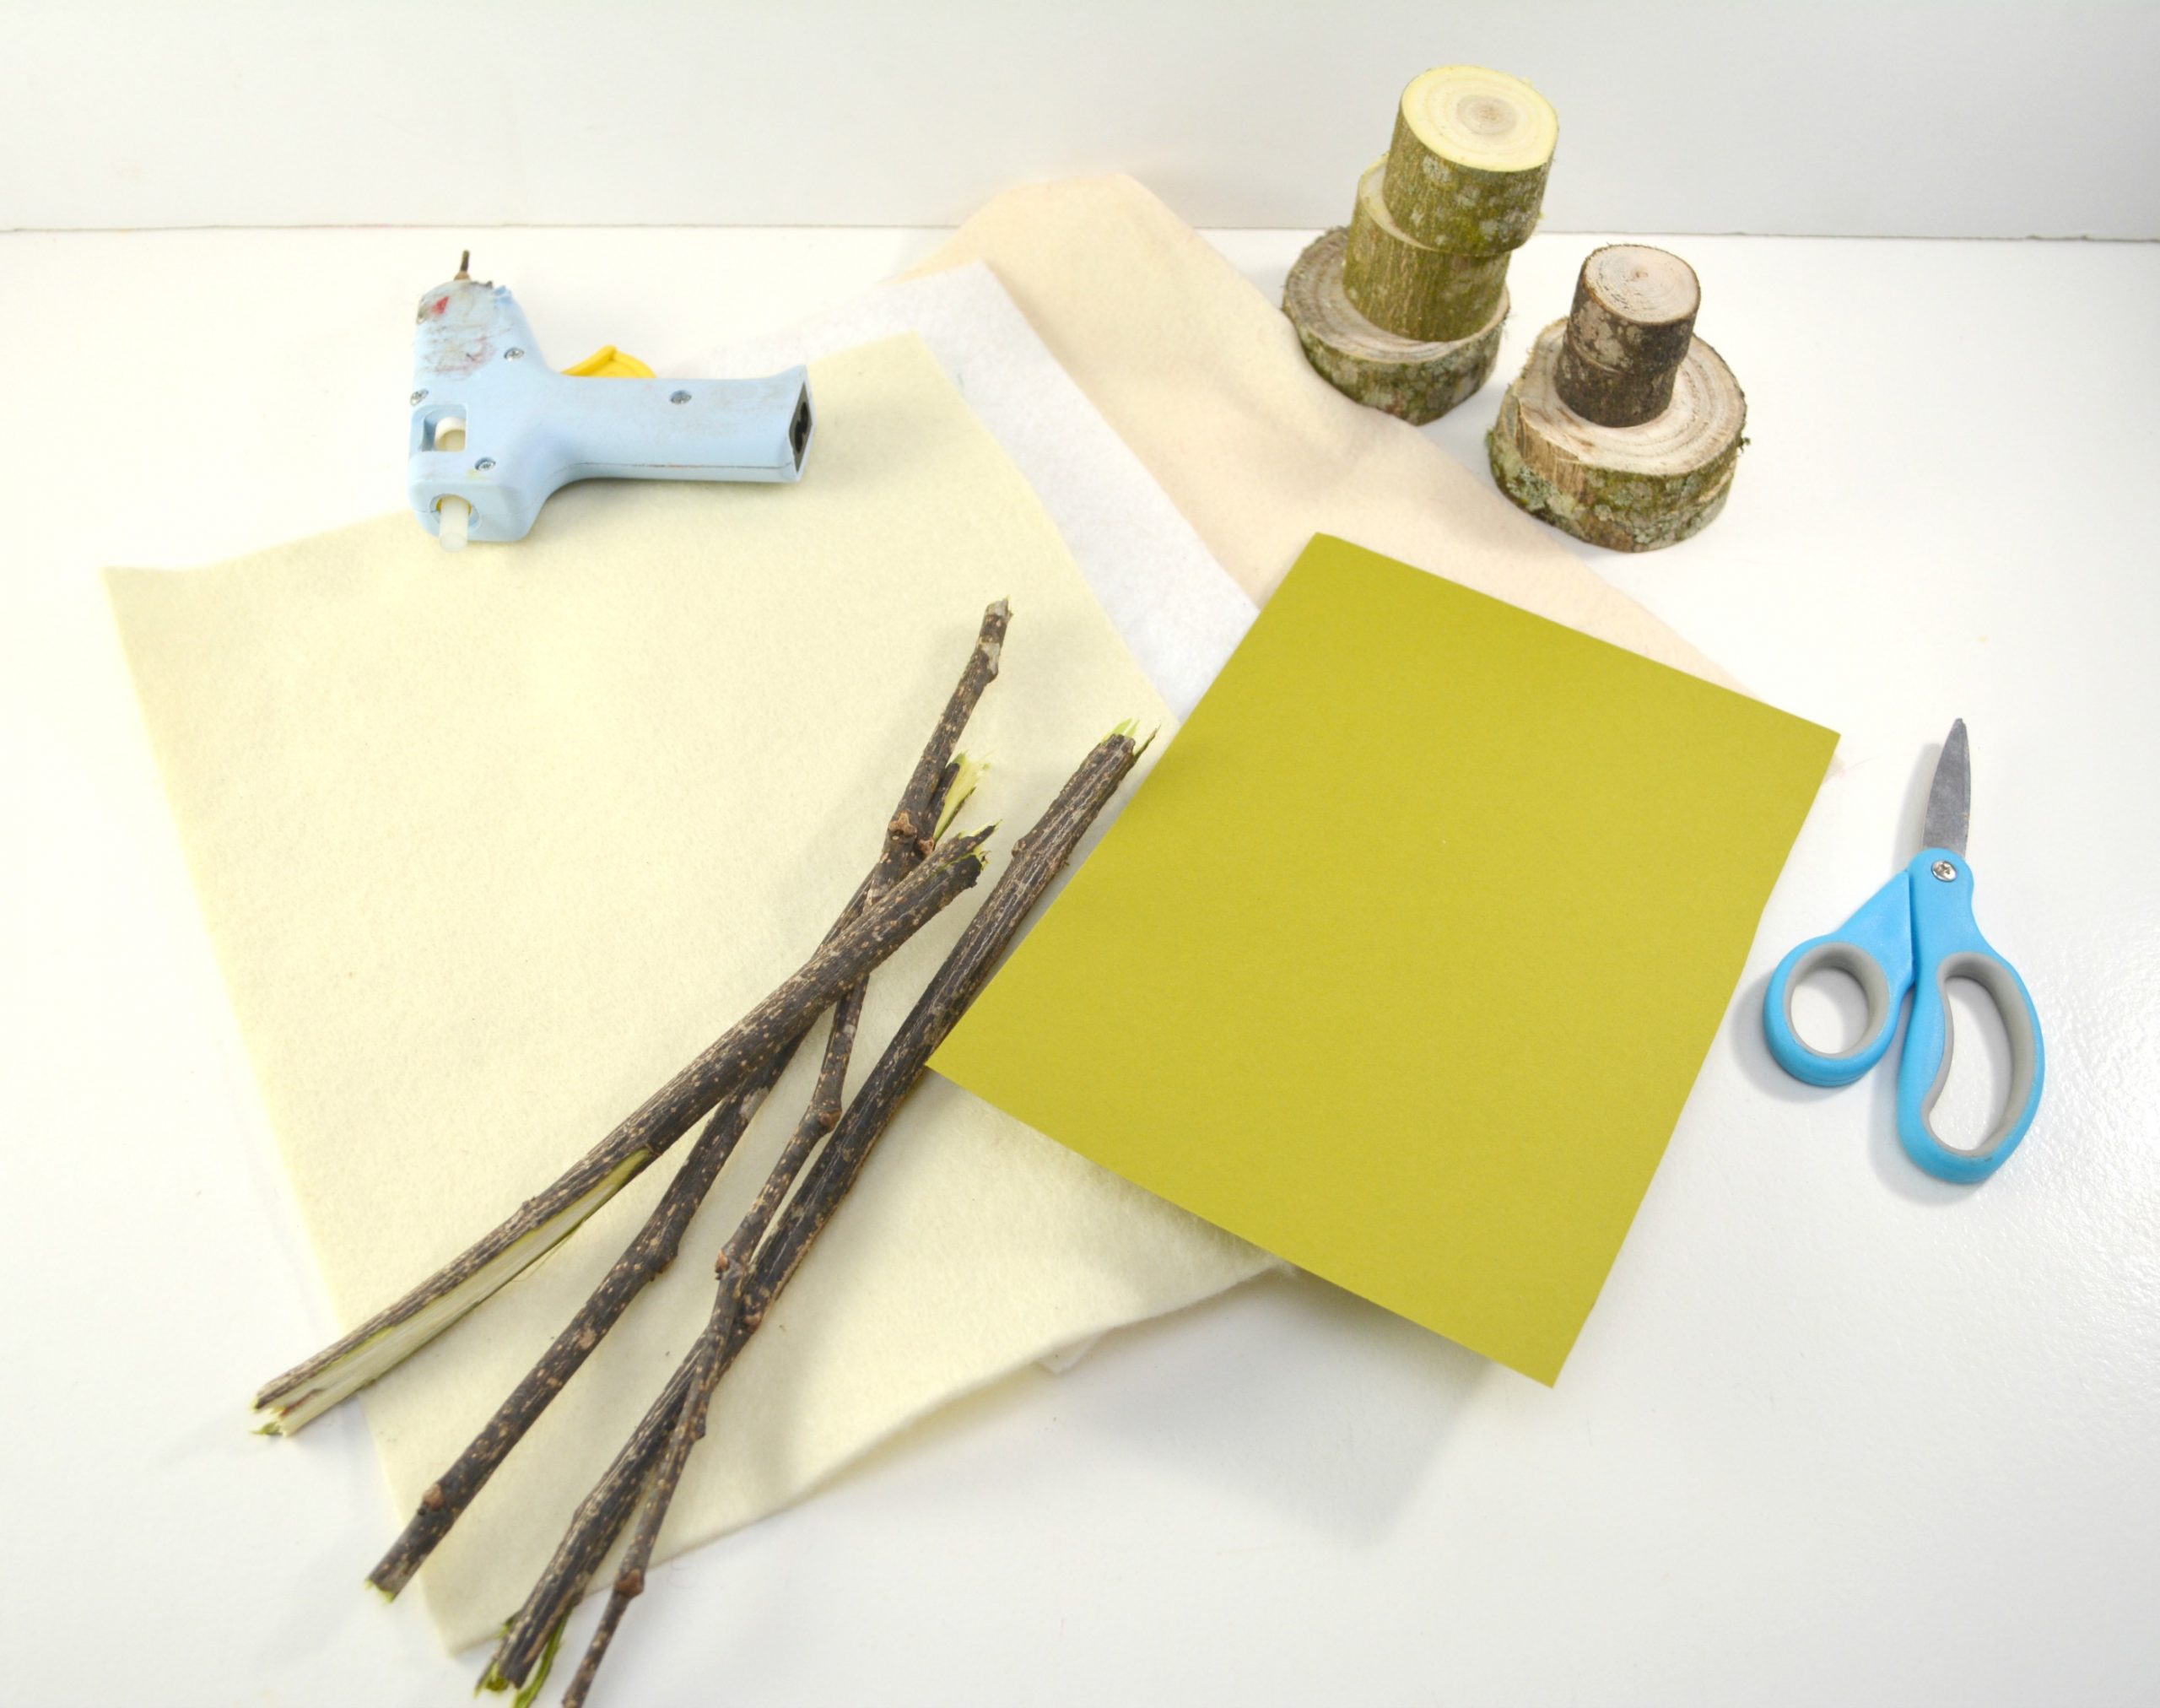
- Long twigs
- Felt in a variety of colors
- Hot glue gun
- Small wood slice rounds in different sizes
- Scissors
- Cardstock
- Pencil
Instructions
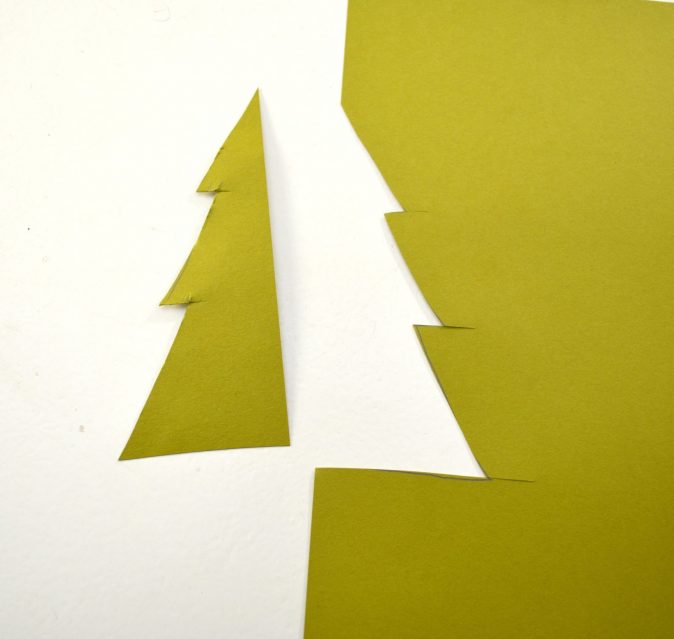
Begin by drawing half of a Christmas tree shape on the outside edge of a piece of cardstock paper and cutting it out. You can view the photo for reference on how to do this.
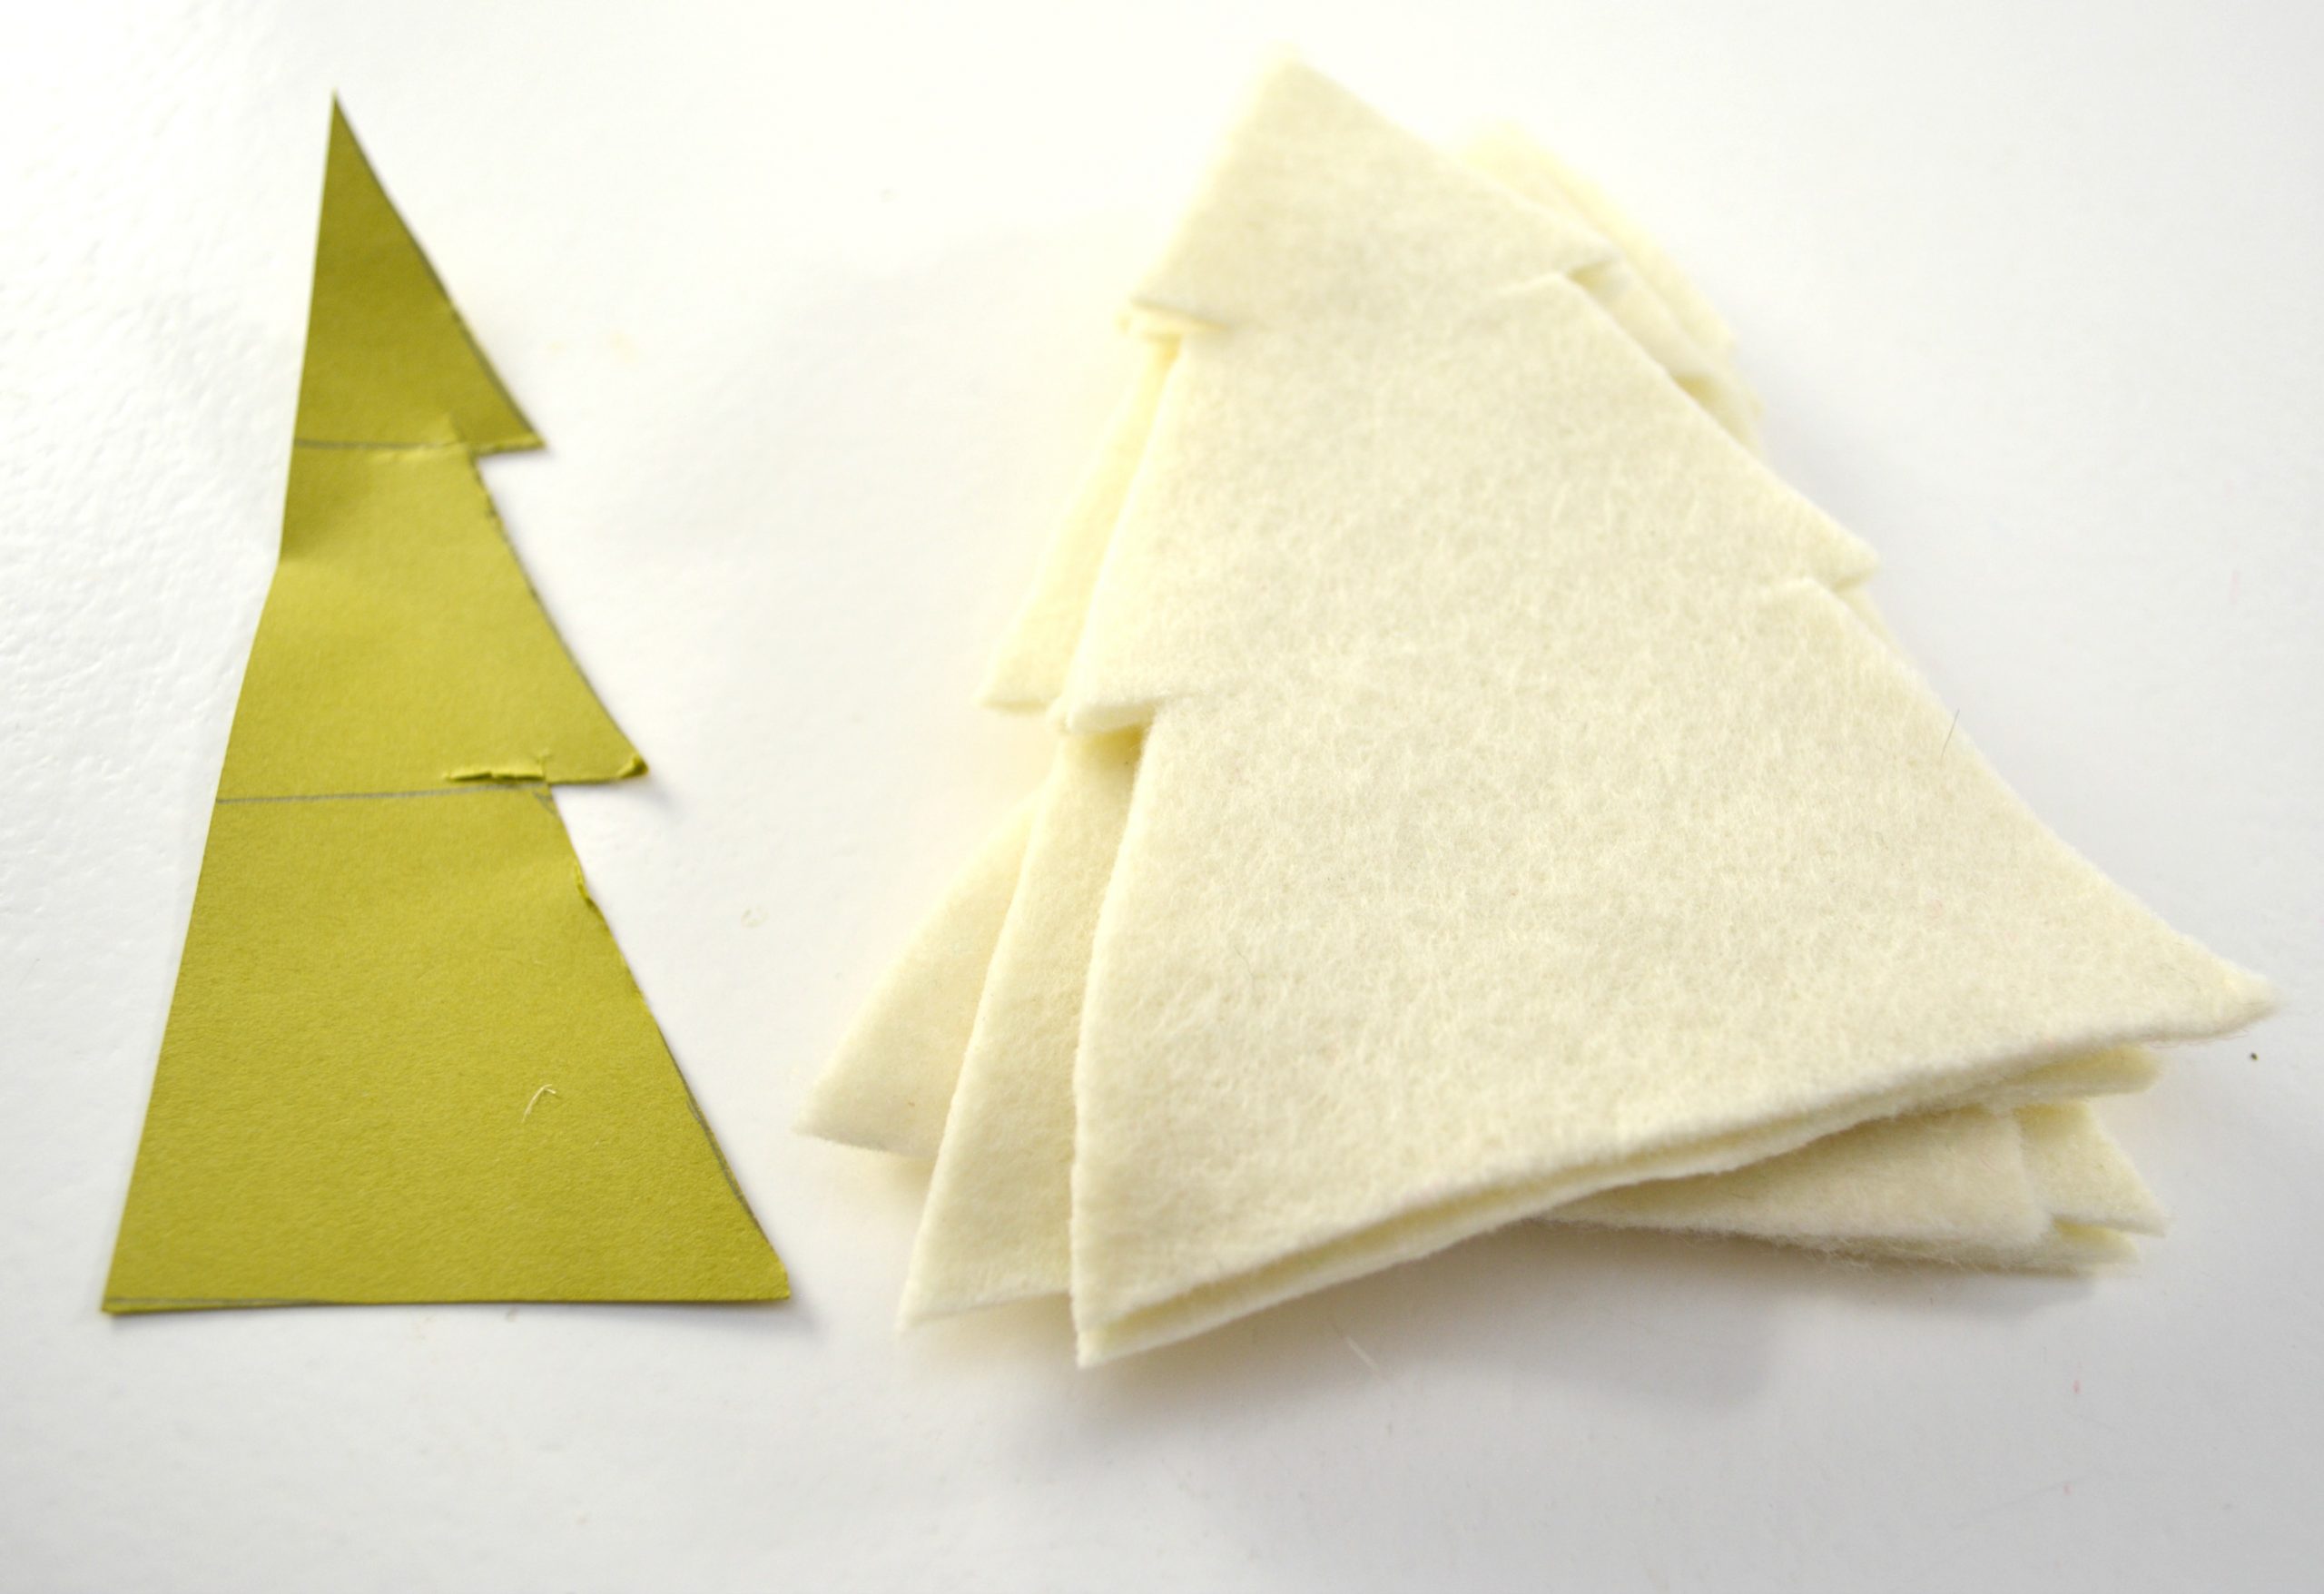
Fold a portion of felt over and cut out a Christmas tree shape using your cardstock tree shape as a template. Cut out 4-5 felt trees for each finished tree you wish to make. You can create and cut out a smaller template as well if you would like to make trees of different sizes.
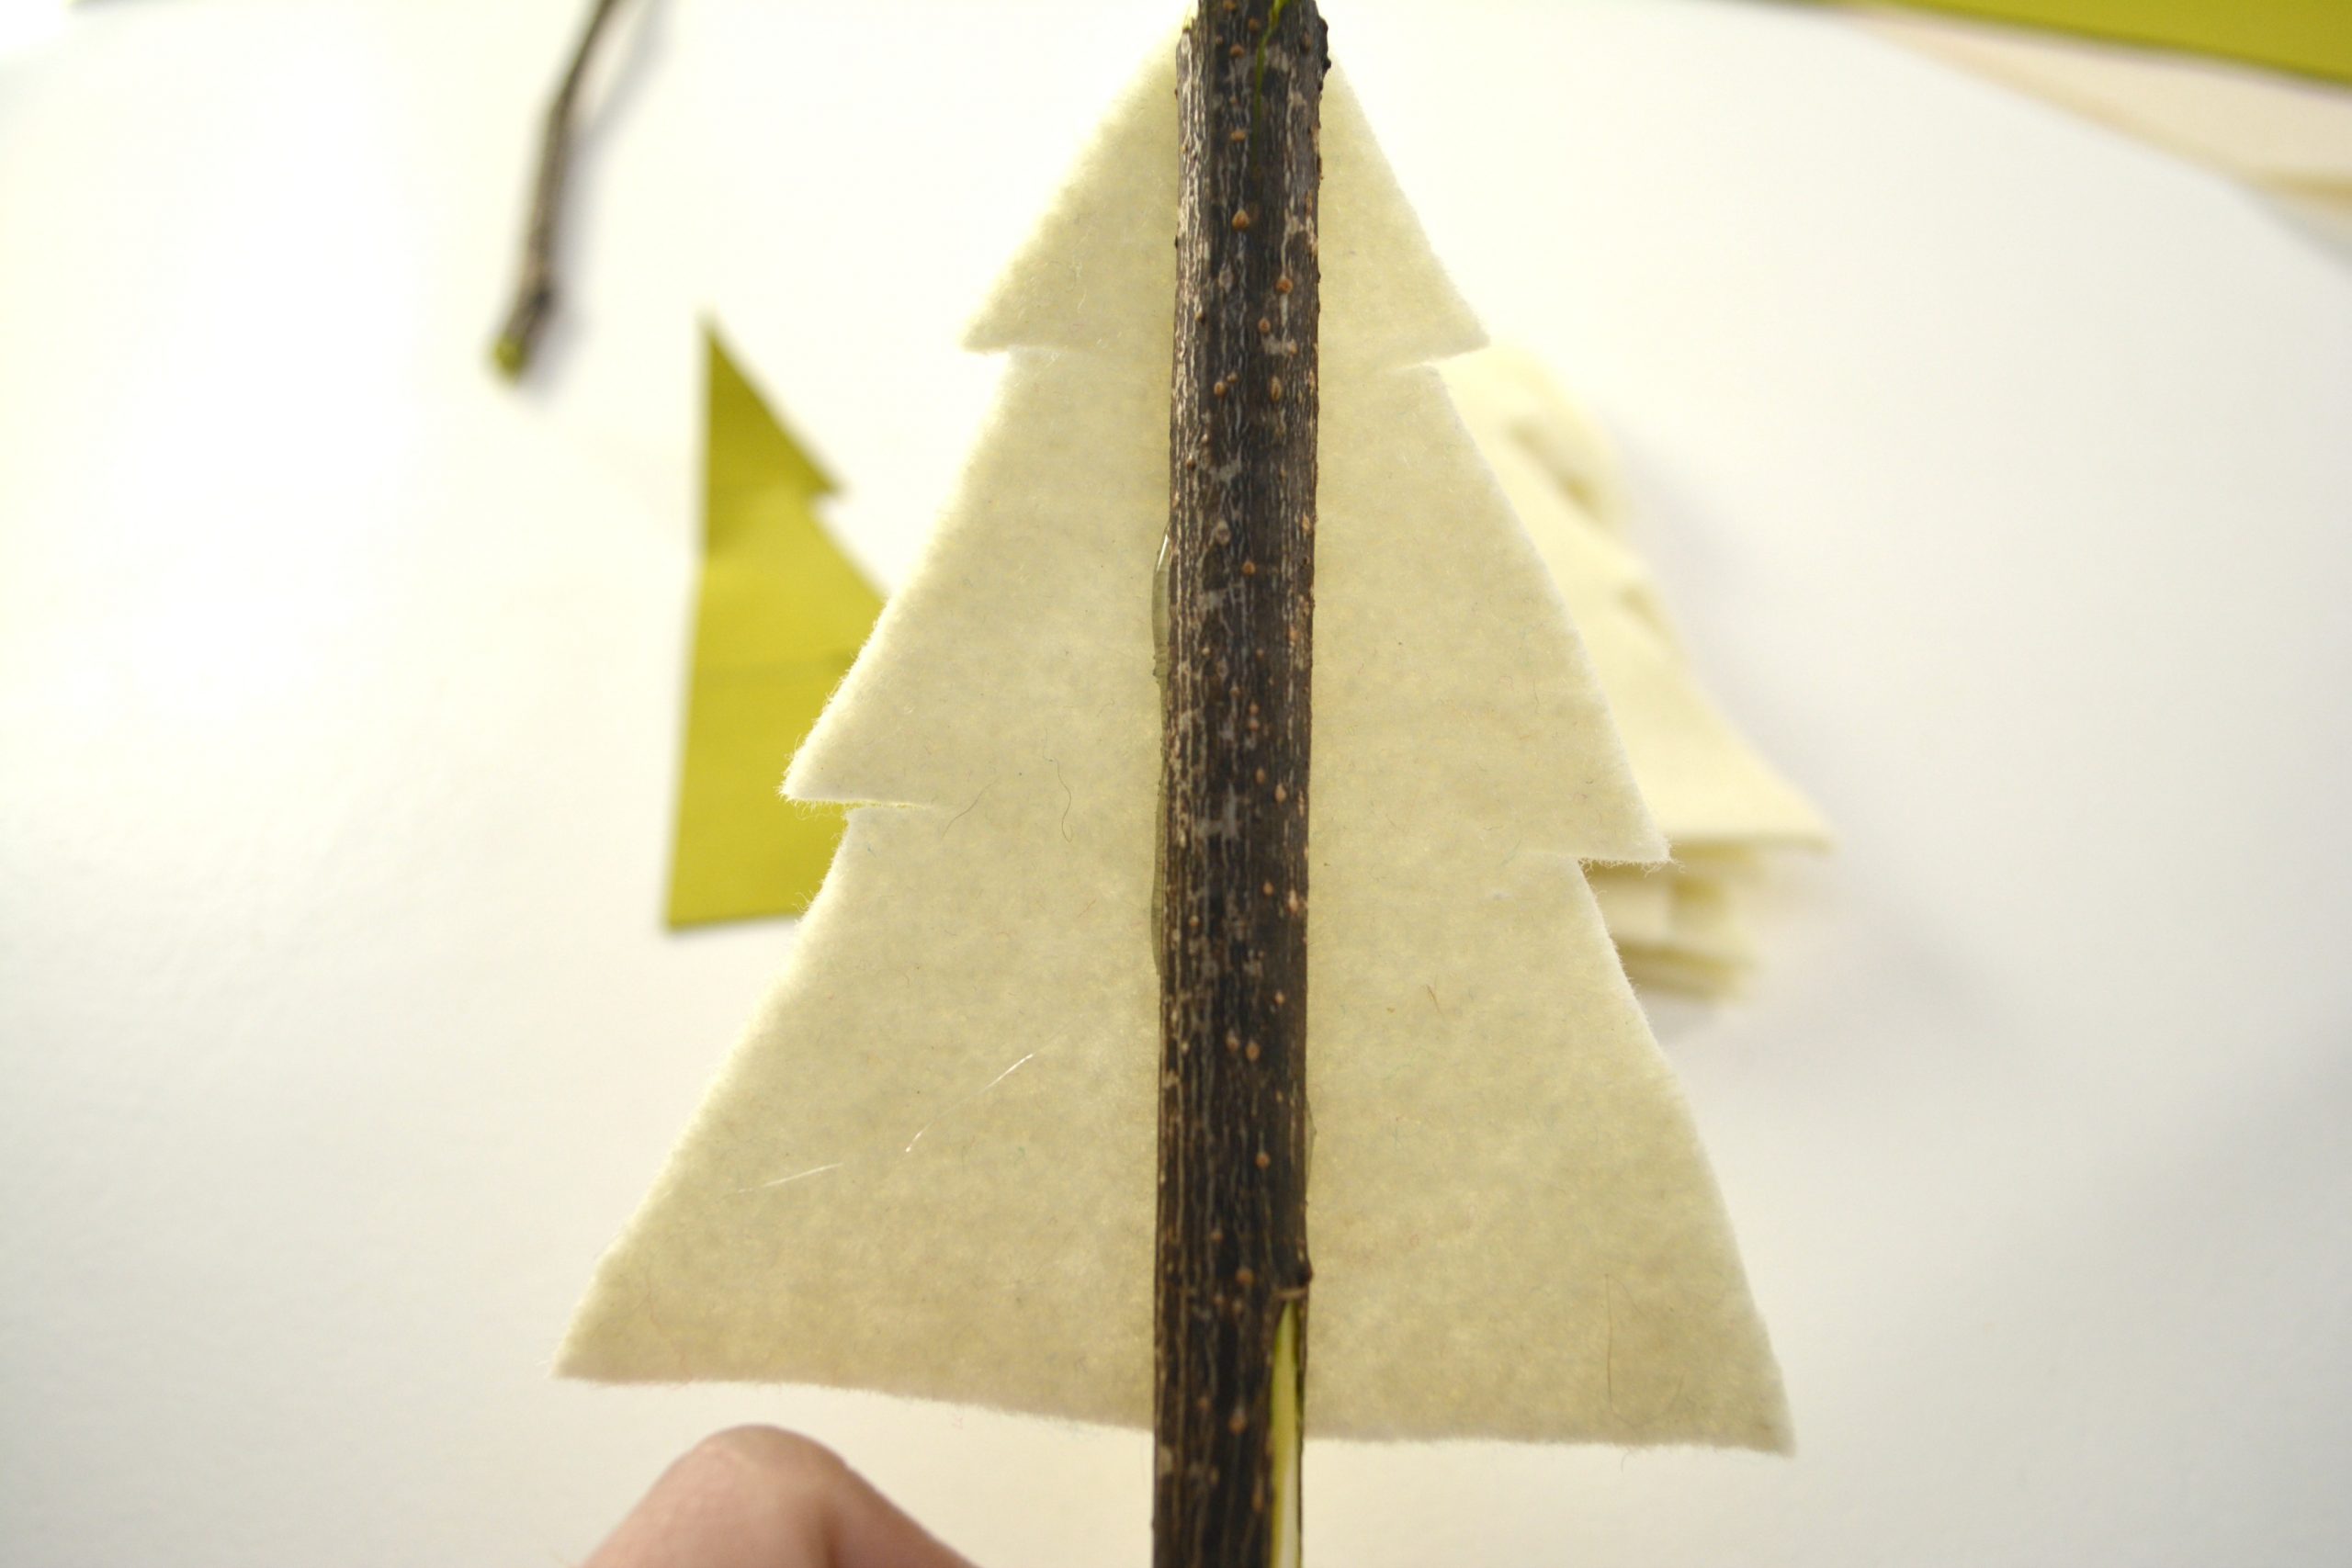
Break a twig to the length you would like your tree to be. Starting at the top of the twig, put a straight line of hot glue down the twig about as long as your felt trees.

Fold a felt tree in half and push it into the hot glue so that the hot glue runs behind the center of the felt tree, and the top of the tree is just above the head of your twig. Again, you can view the photos for reference on how to do this.
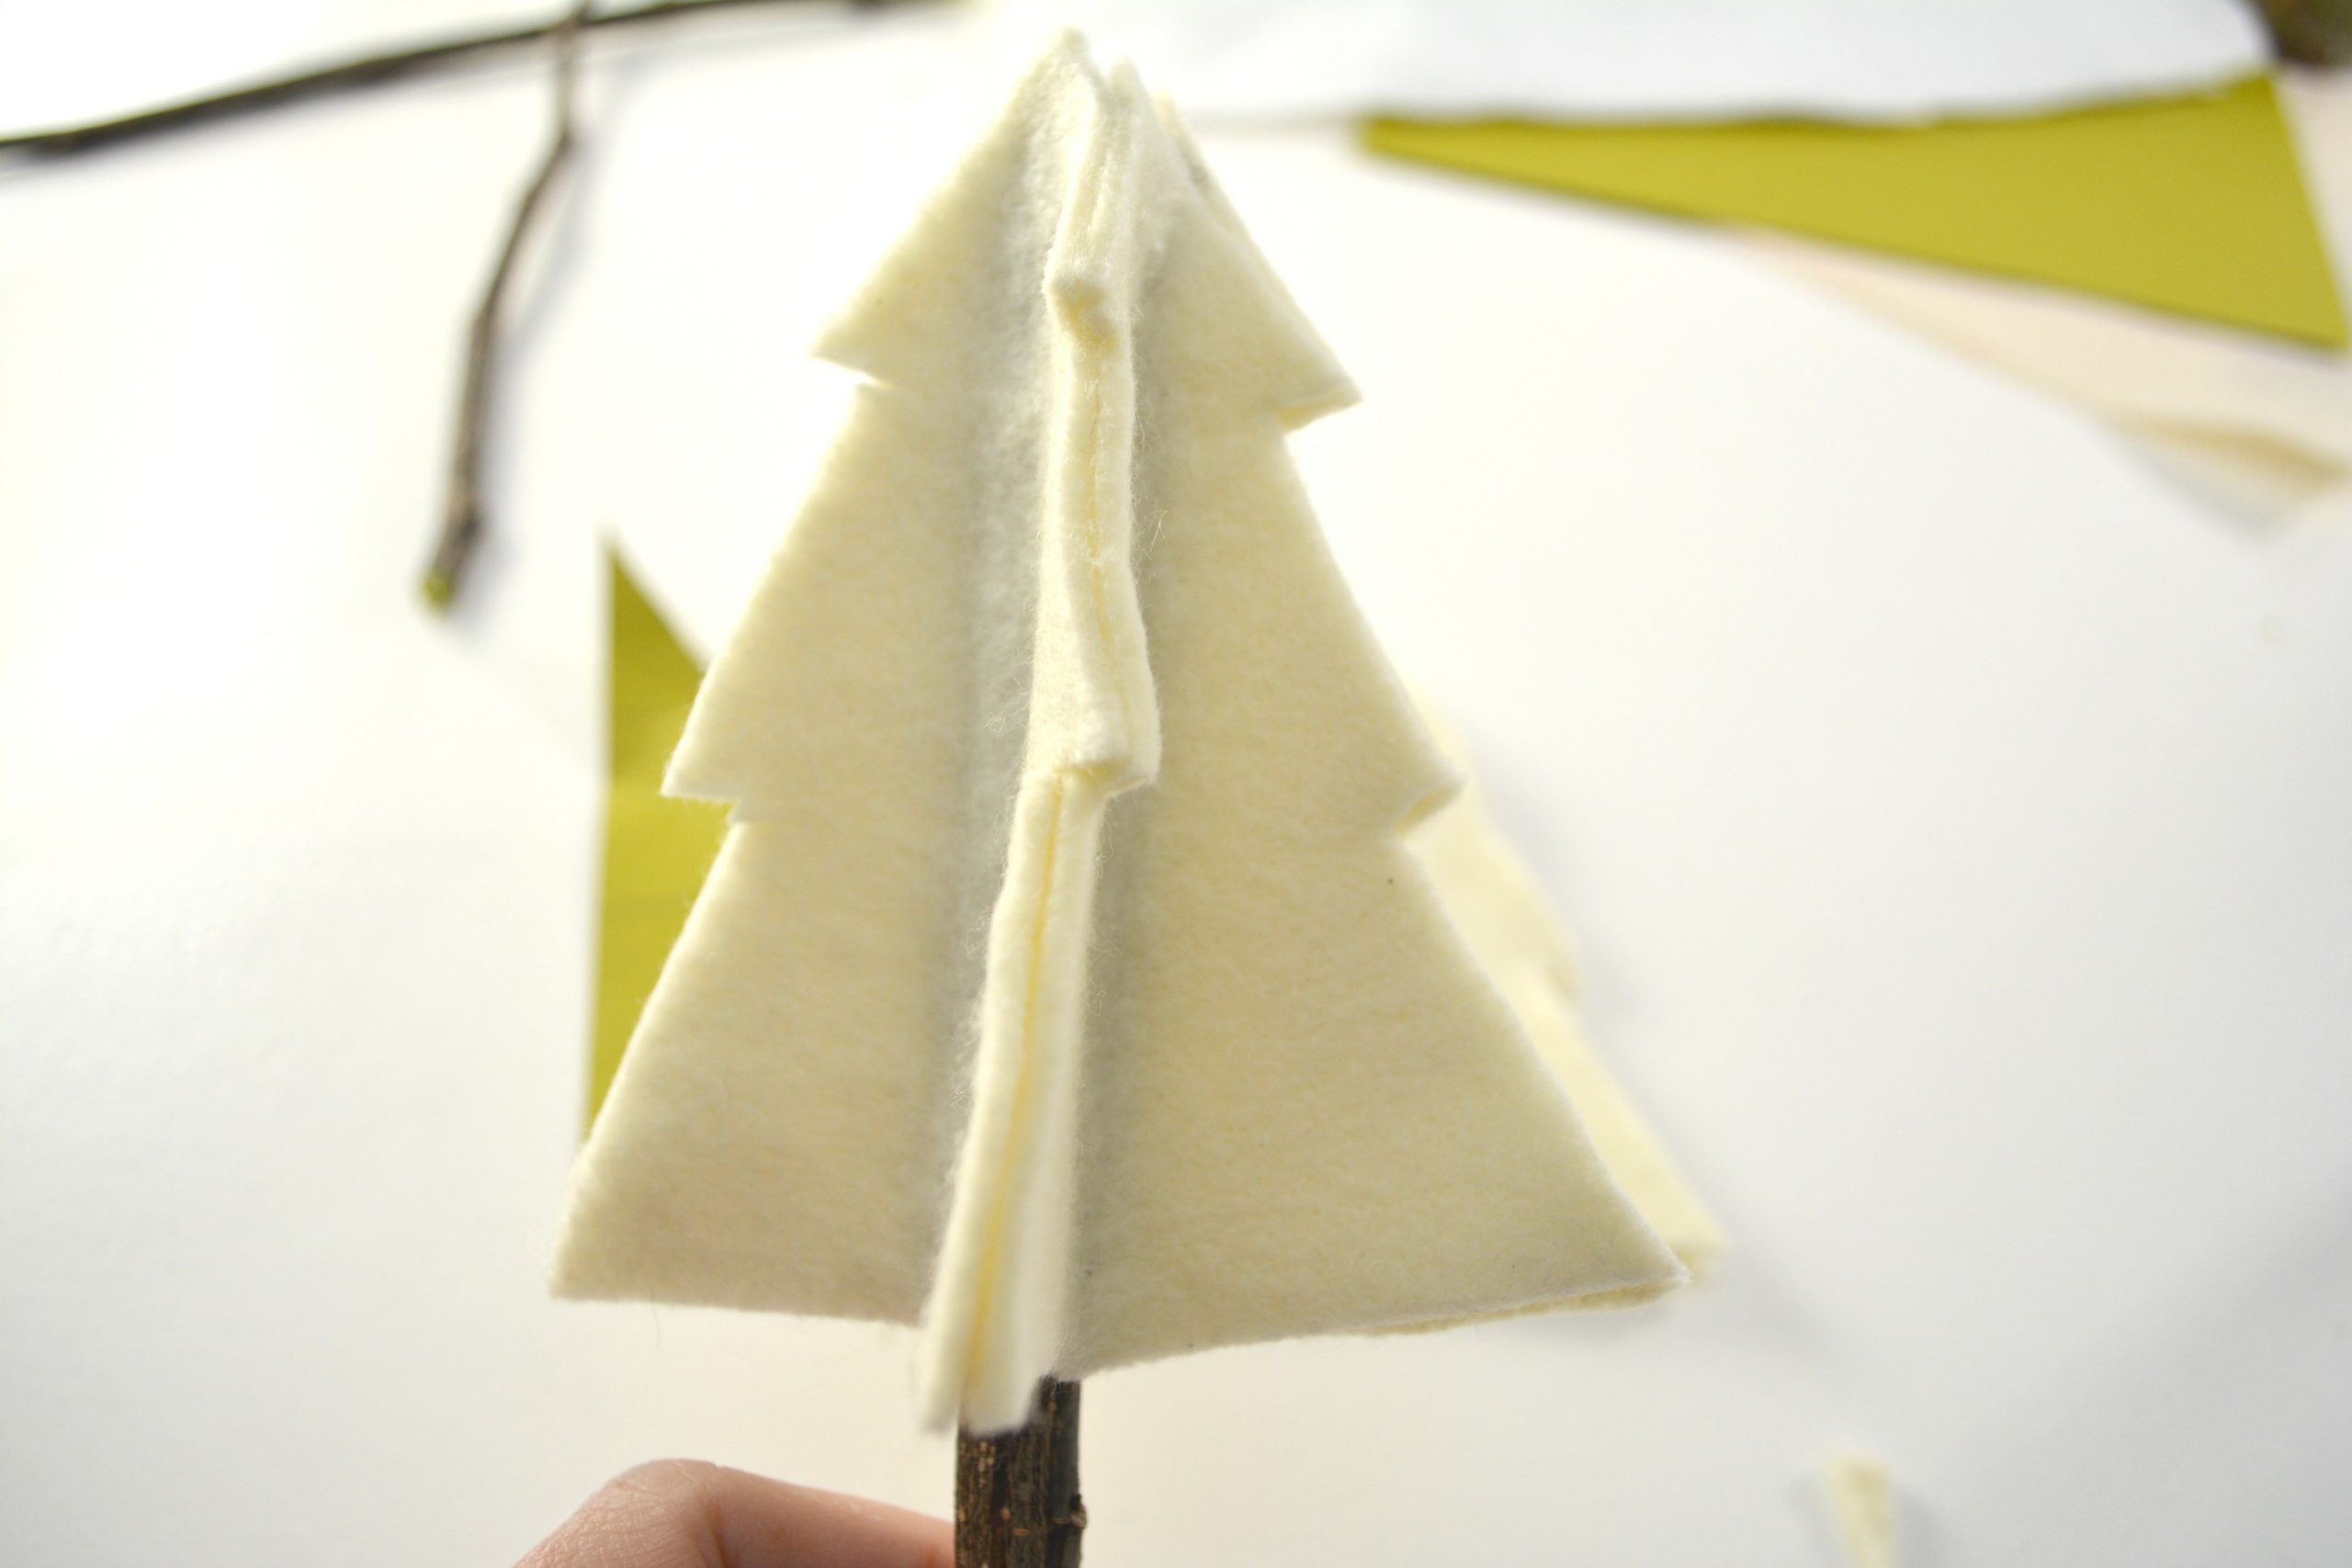
Continue folding and gluing your felt trees all of the way around the twig. You can fit 4-5 felt tree shapes on the twig depending on how full you would like your finished tree to look.
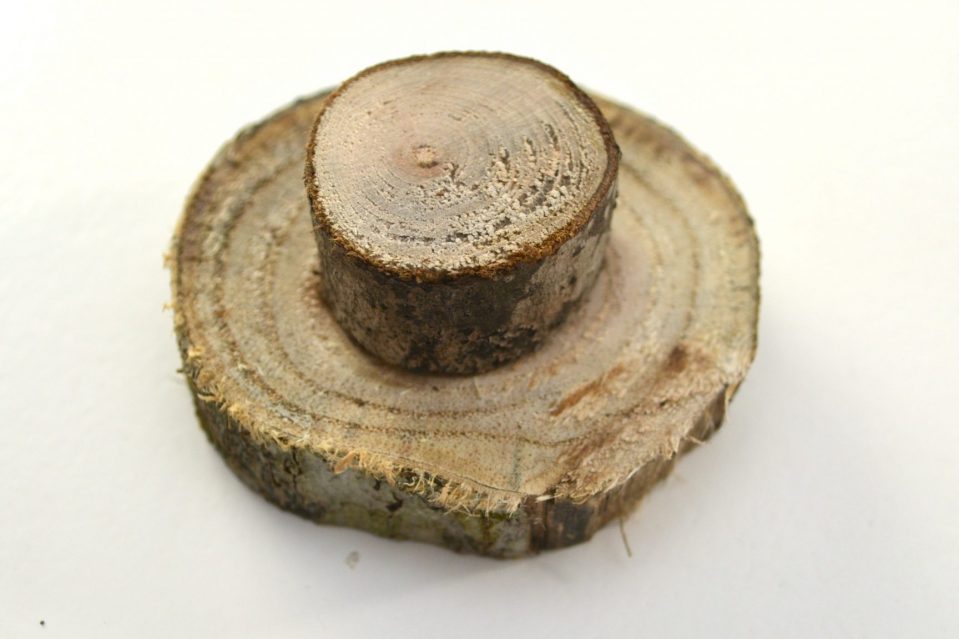
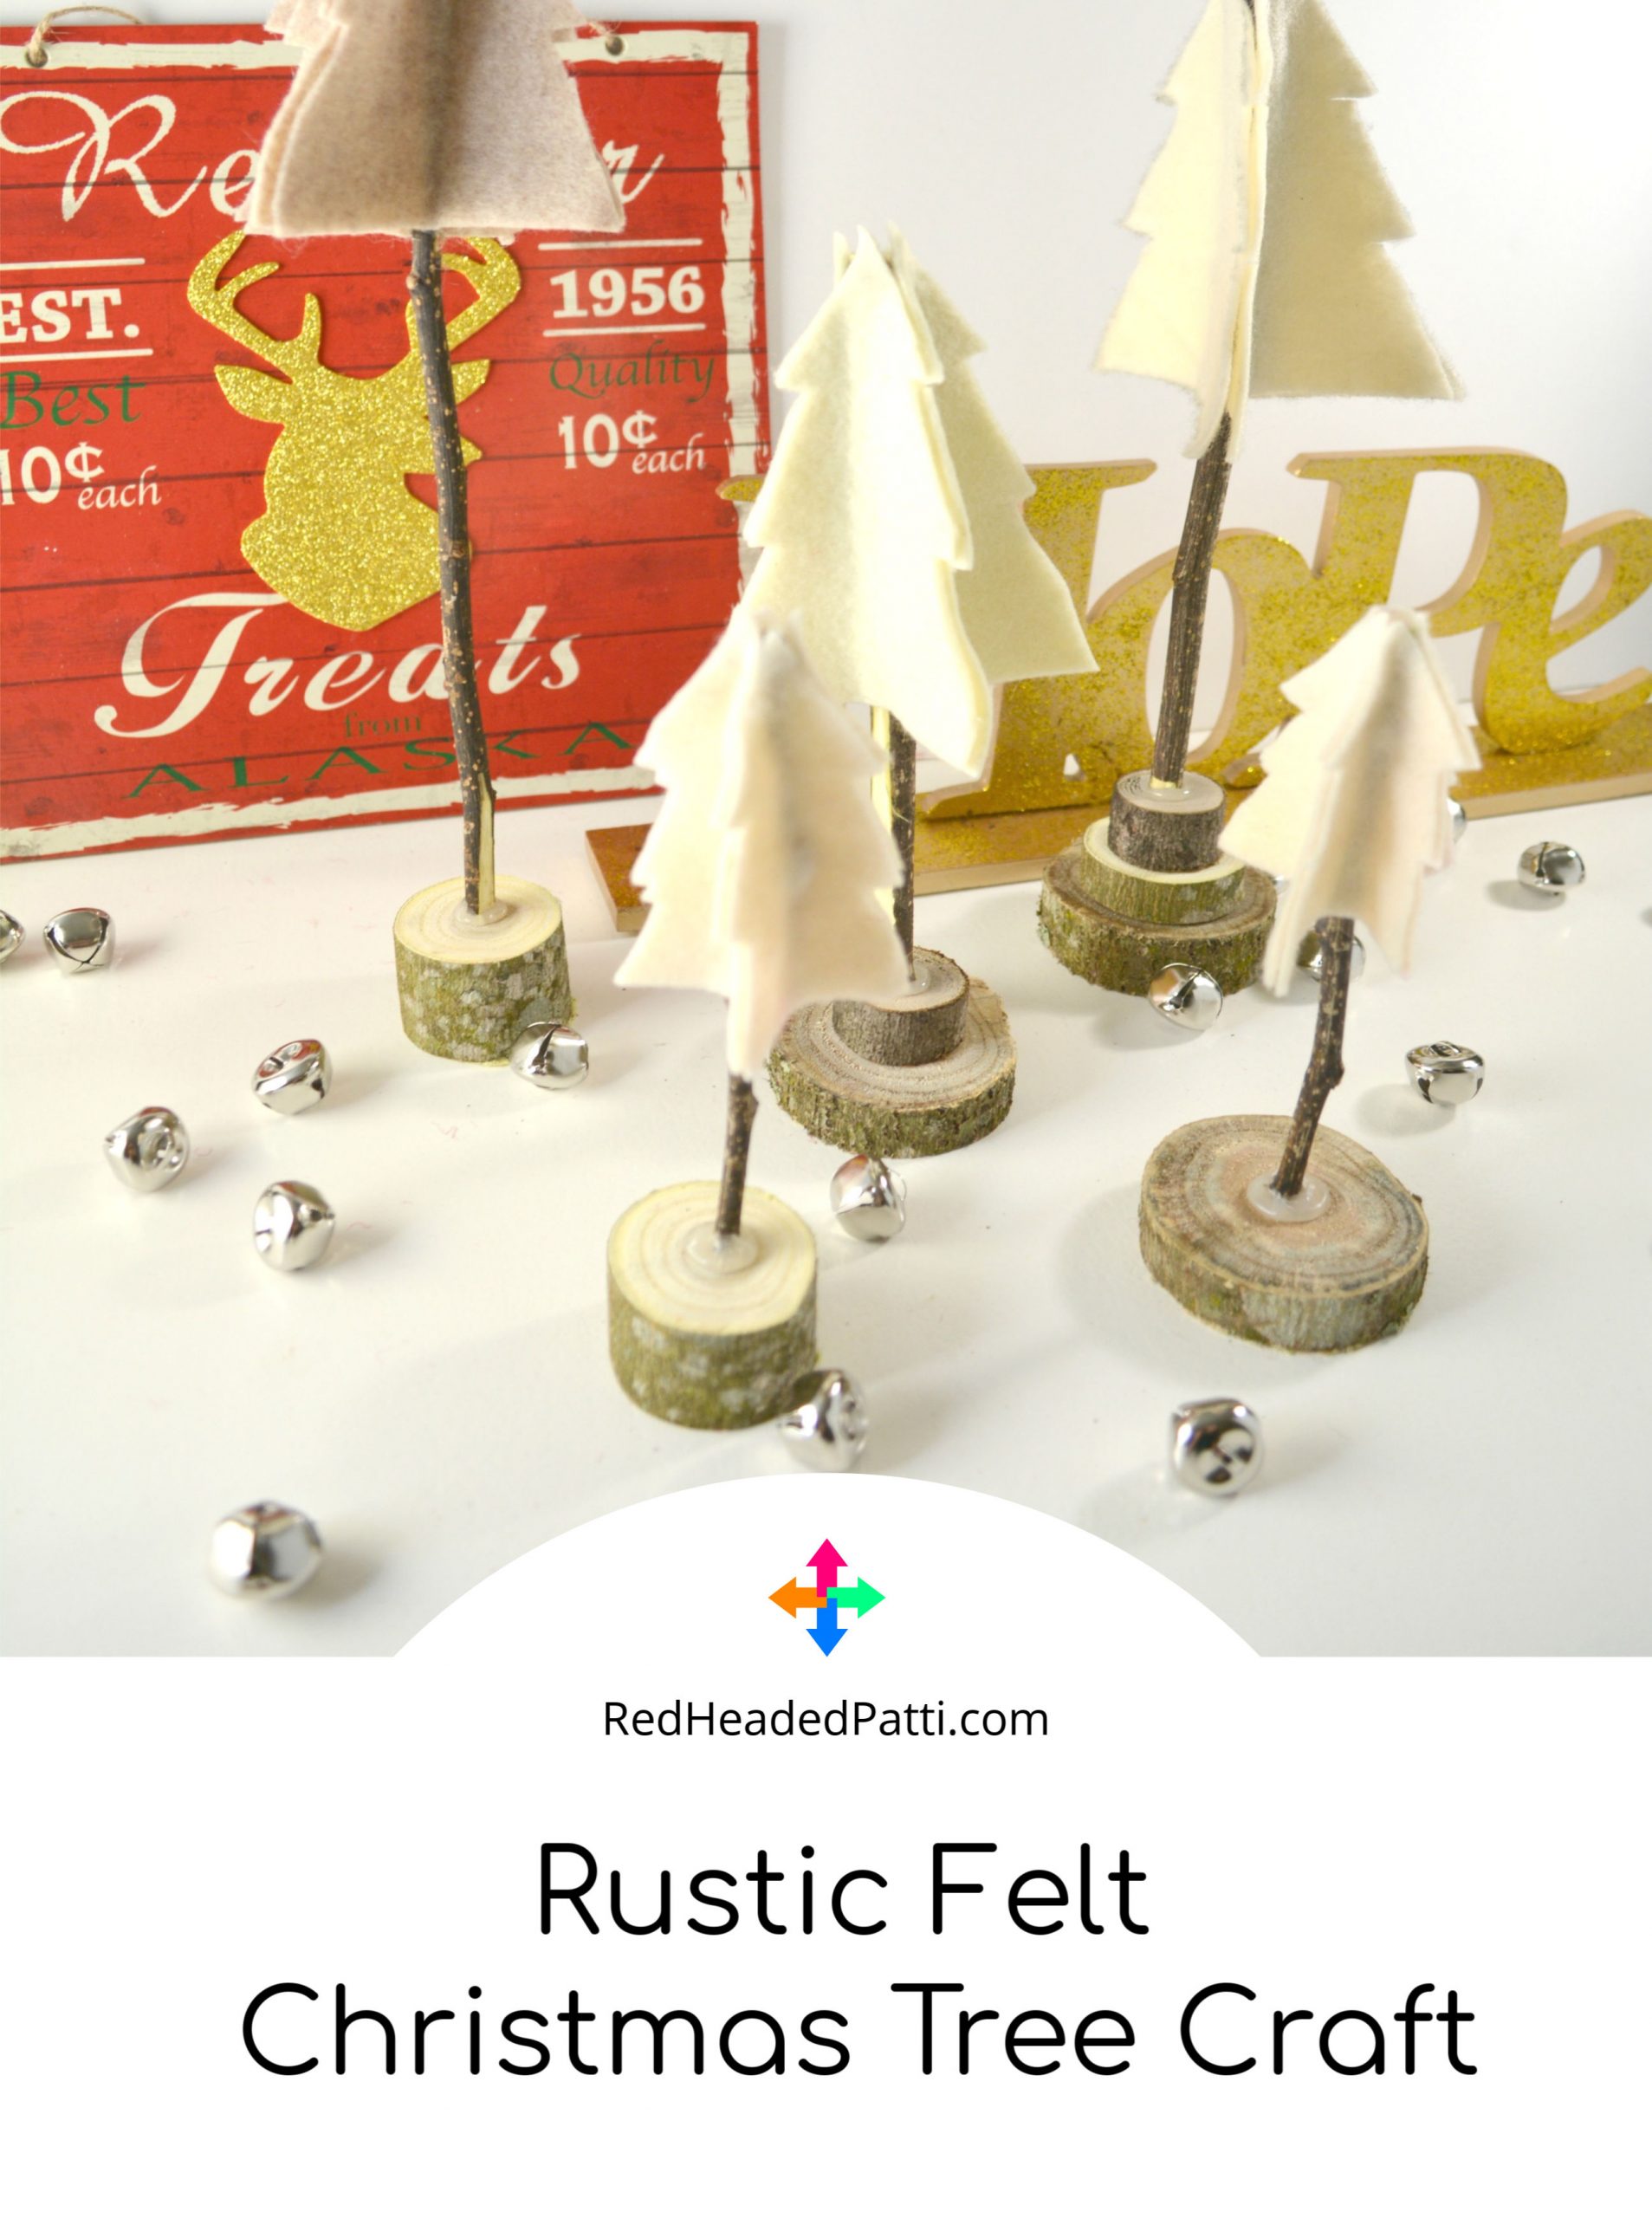
Create a base for your felt and twig Christmas tree by gluing together 2 or more small wood slice rounds of different sizes. You can also use a single wood slice if you prefer.
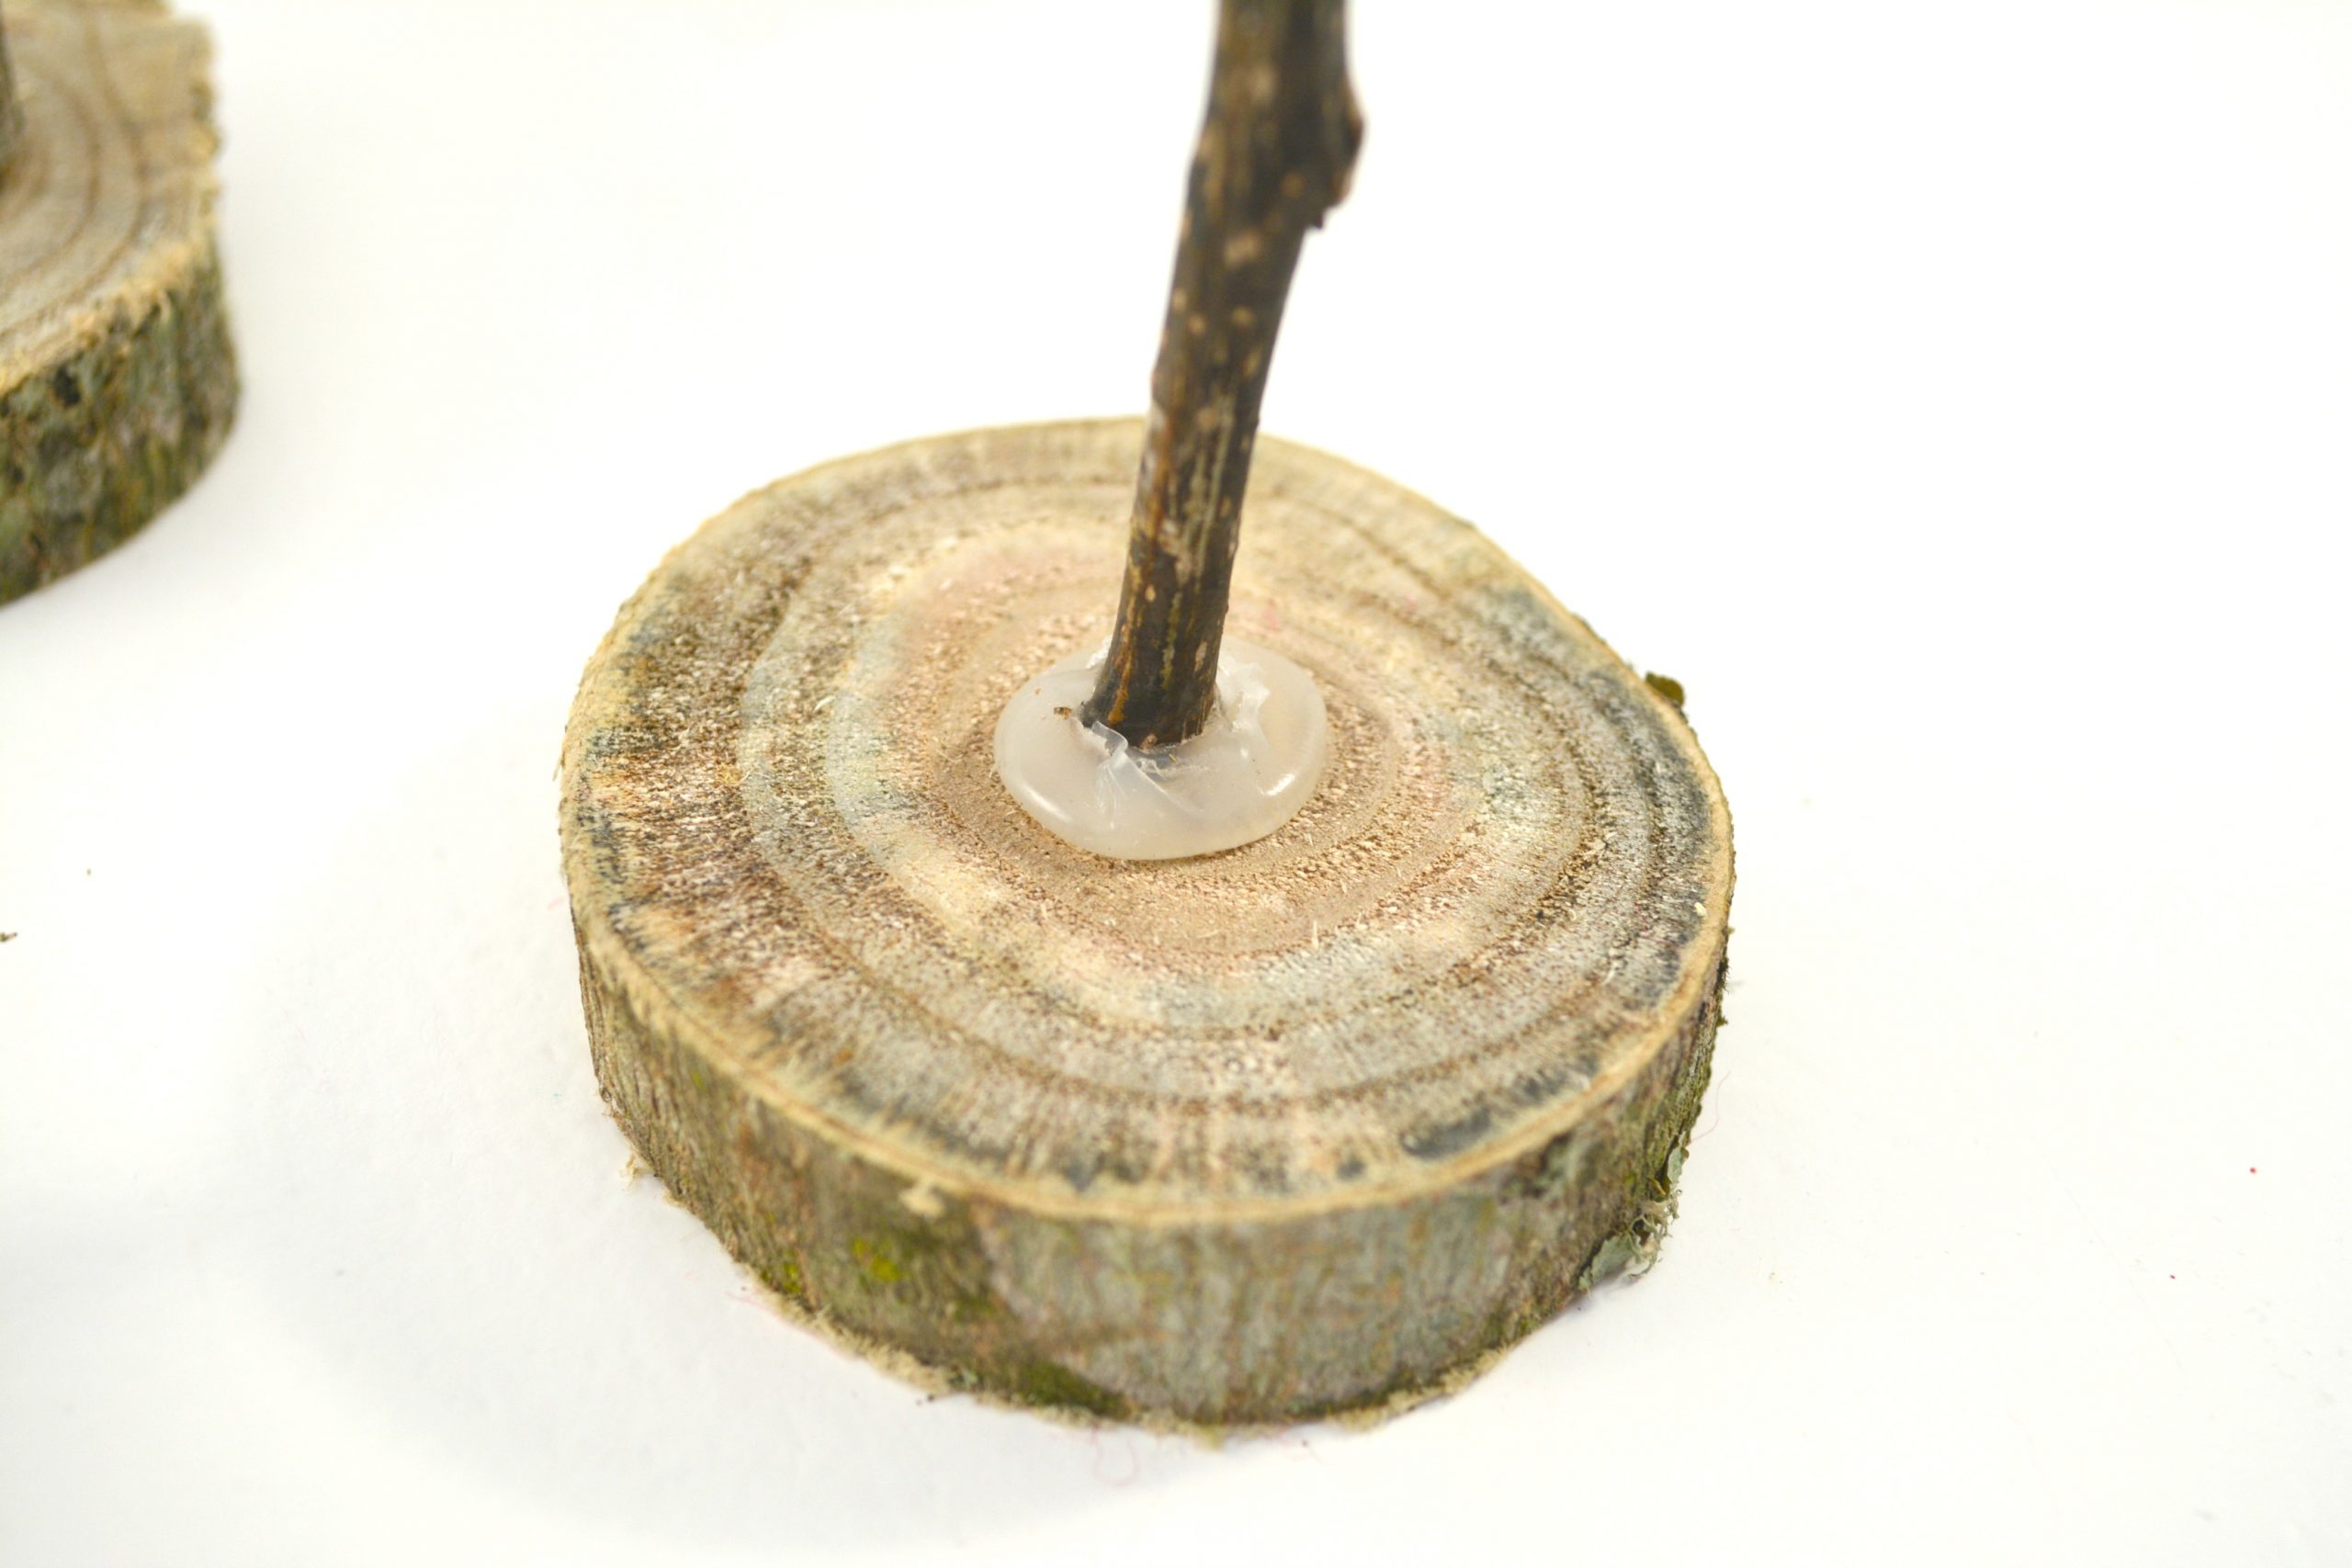
Use hot glue to attach the bottom of your twig and felt tree to the base. Hold it in place for a minute or two until the hot glue has hardened.
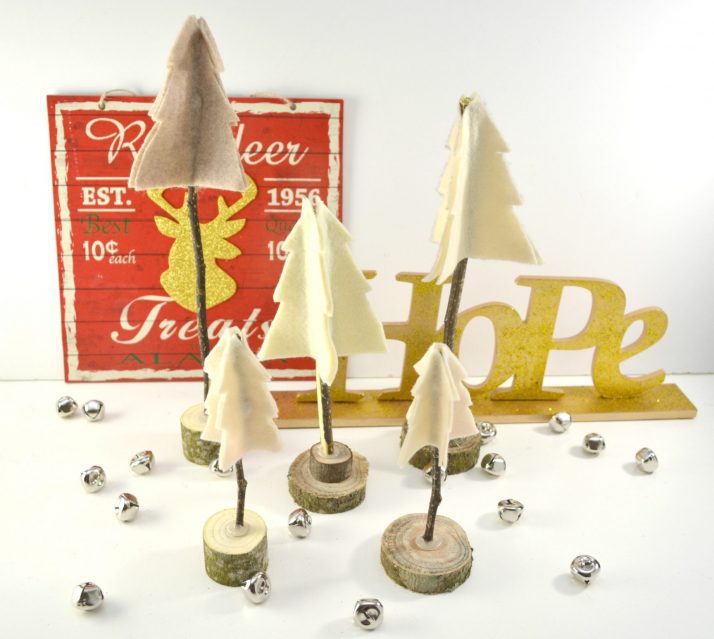
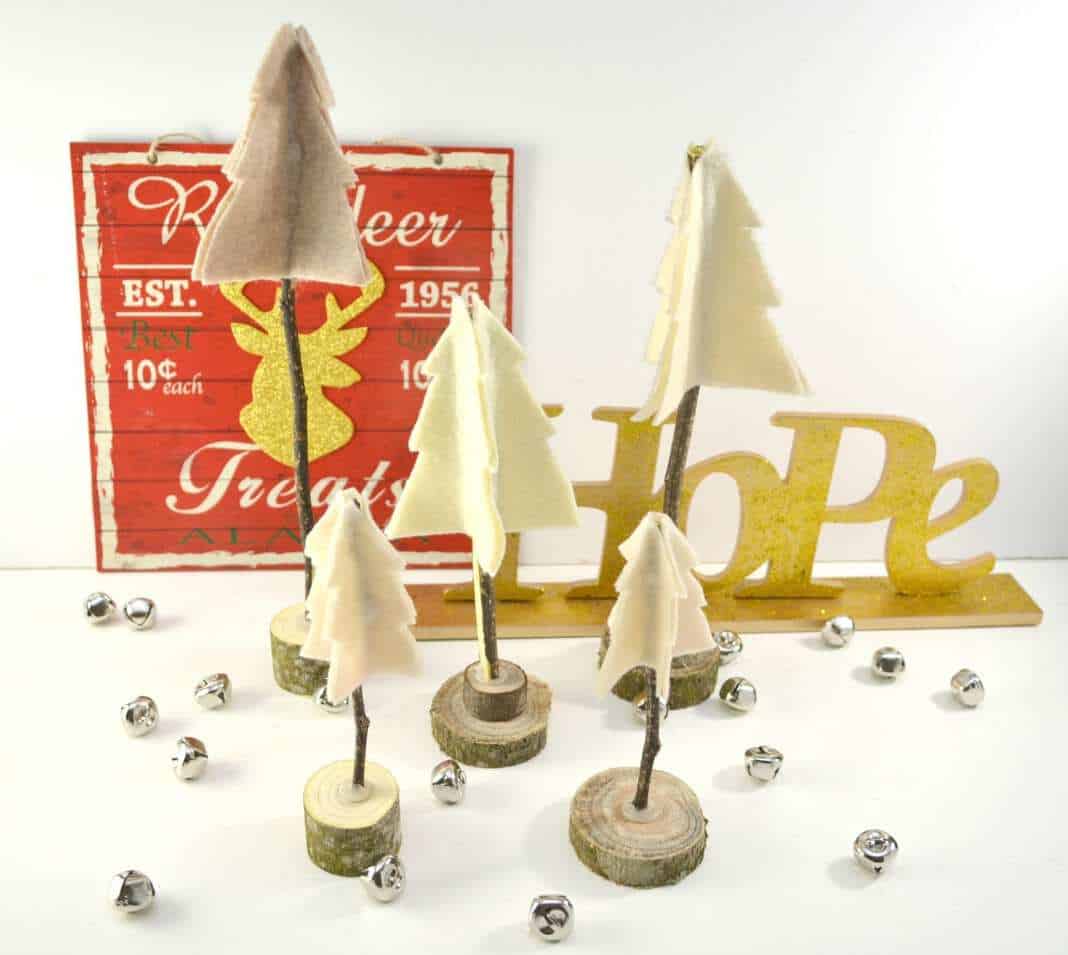
Display your felt trees as a group on your mantel, shelf or table this holiday season.

I love arts and crafts projects – thank you sharing this own!
I love how rustic and cute these trees are.
These are so cute. They will make a great project for me to do with the grandchildren. Thank you so much for sharing. God Bless