

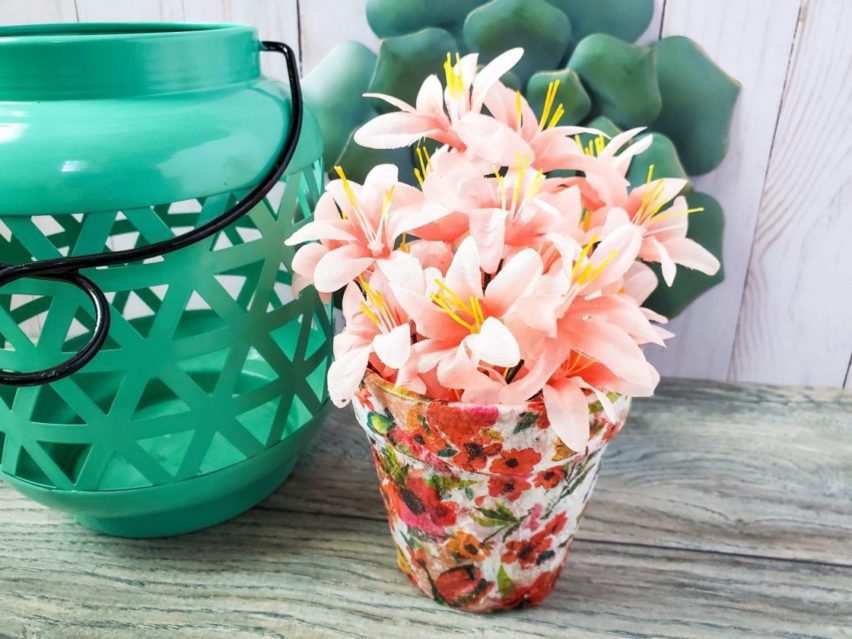
We love this decoupage flower pot craft because it is easy for almost anyone to make. Not only that, the craft can be tailored to almost any taste or style of décor, and with the addition of a carefully chosen plant, it makes a fabulous, thoughtful gift.
Not only that, the supplies are affordable and readily available, either online, or at almost any local store and there’s no expensive equipment to buy.
Upgrades
If you want to get fancy with your decoupage flower pot you can:
- Use a set of pots either in matching or coordinating colors.
- Try using either a piece of fabric or fabric scraps rather than paper napkins. If you go this route, it’s best to use relatively thin fabric, and you may have to apply a few extra layers of Mod Podge or other sealants at the end.
- Apply some adhesive-backed craft gems for a splash of dazzle.
- This makes a fabulous gift bundle with our Flower Garden / Herb Garden Kit.
Decoupage Flower Pot Craft: Supplies
- One 3-4 inch diameter clay pot
- A decorative paper napkin
- A tub of either Satin Finish Mod Podge or Matt Finish Mod Podge
- A mid-size foam brush
- Scissors
- Sealer – This is optional for indoor use, but you’ll need it if you plan to use the pot outside
Decoupage Flower Pot Craft: Instructions
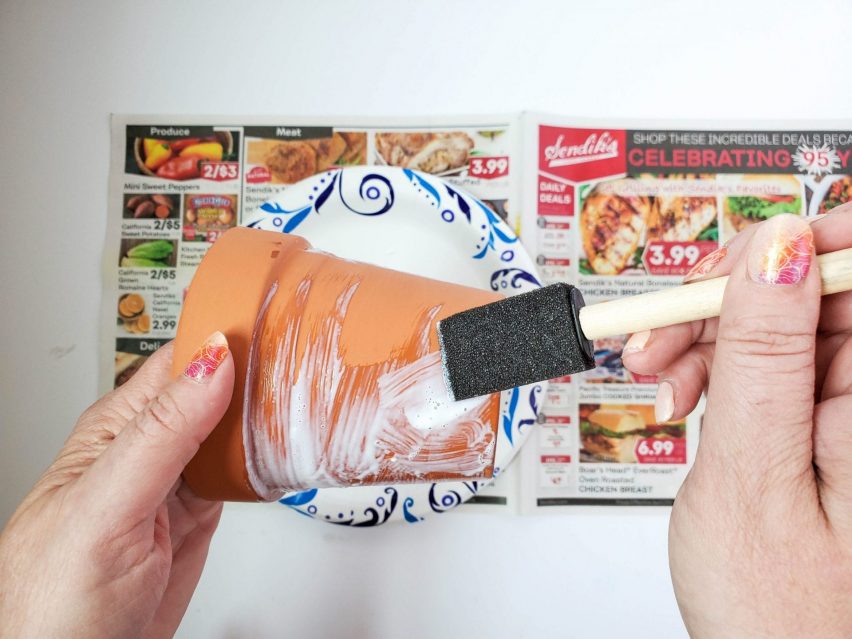
Step one
Use the foam brush to apply an even layer of Mod Podge to the outside of the flower pot.
Decoupage Flower Pot Craft: Top Tip
An easy way to avoid getting the Mod Podge all over your hands is to place the pot upside down, on a soda can, or something similar. This will allow you to paint the Mod Podge all over every surface without holding the pot.
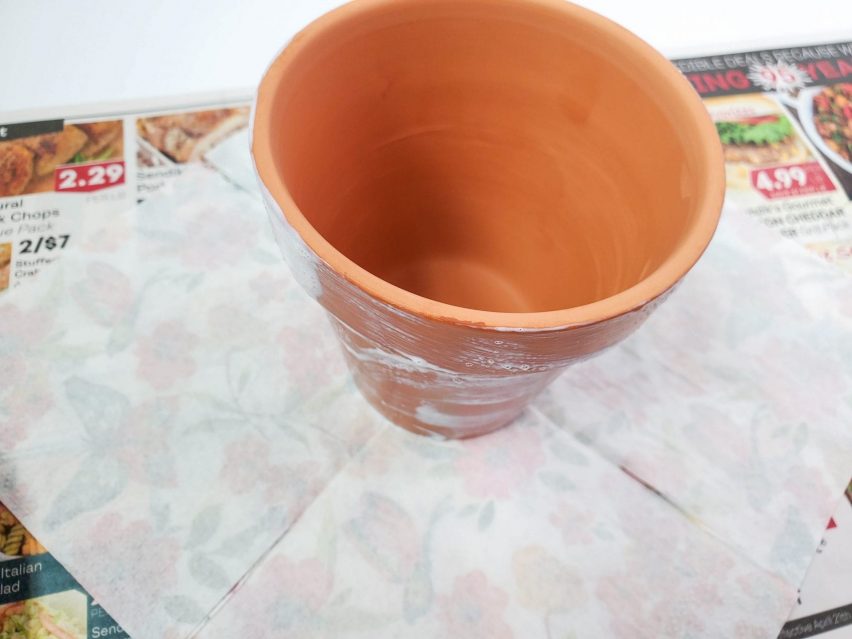
Step Two
Unfold the paper napkin and place it face down on your work surface. Place the pot with the bottom surface at the centre of your napkin.
Decoupage Flower Pot Craft: Top Tip
When you unfold the napkin for your decoupage flower pot, take a moment to smooth it out, but it doesn’t have to perfectly flat.
Step Three
Carefully cut a slit in the napkin from the outer edge until you meet the pot. You can use the scissors to follow the line where the fold was. Repeat the cut along each of the four fold lines.
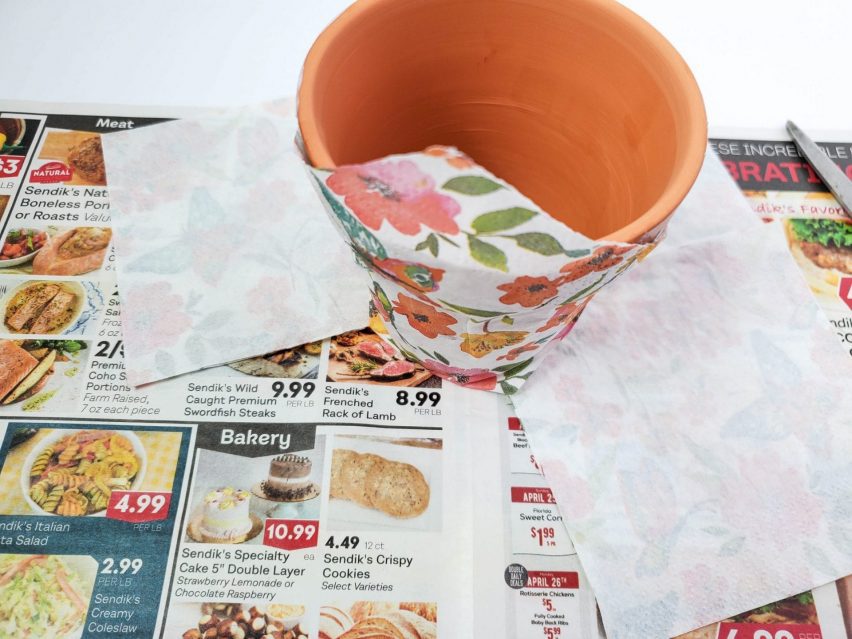
Step Four
Fold one corner of the napkin up against the pot, smoothing it out once it’s in place.
Apply a layer of Mod Podge around the inside rim of the flower pot and fold the napkin over, smoothing it against the inside of the pot.
Then repeat for each of the three other corners.
Step Five
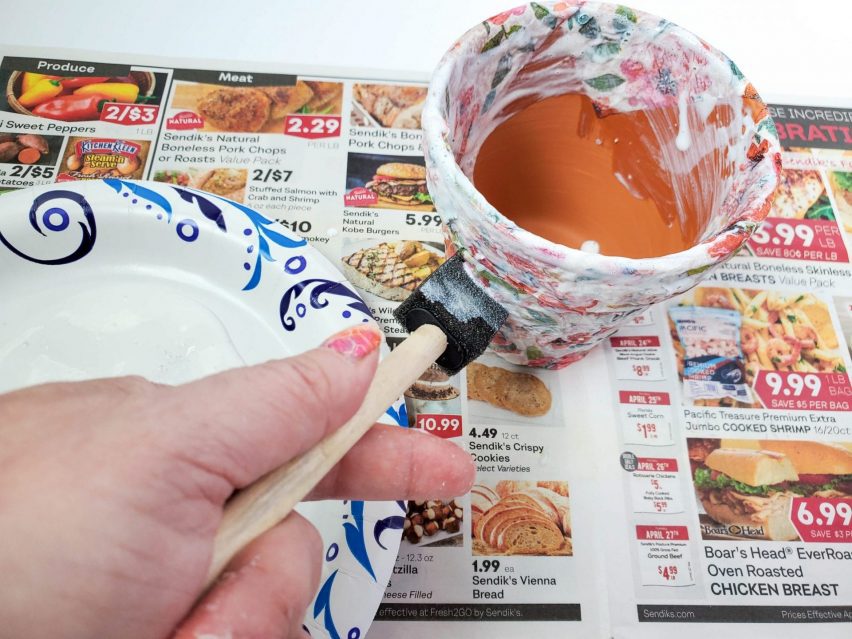
When all four corners of the paper napkin have been stuck to the outside of your flower pot, and the corners have been stuck to the inside, apply another layer of Mod Podge over the entire outer surface, including the bottom and the inside rim.
Decoupage Flower Pot Craft: Top Tip
Apply the outer coat of Mod Podge to the inside rim first and then place the pot upside down on your soda can or other stand. Now it is easier to apply the coat to the outer surface and bottom of the pot.
Step Six
Allow your decoupage flower pot to dry, preferably overnight. Once your pot is dry, run your fingers over the surface. Check the surface of the pot has an even, dry, hard feel. You may need to give the flowerpot a second coat of Mod Podge.
Optional Step – If You Plan To Use The Pot Outside
If you are going to use your decoupage flower pot outside, you may want to seal it. You can use something like Krylon Sealer Clear Finish Spray. This will provide a long-lasting weather-resistant surface and prevent your hard work from becoming a paper mache-covered flowerpot.
